I've been meaning to share this recipe for awhile - it's really good comfort food! I've seen different versions of this online, but I got this recipe many, many years ago and why mess with a good thing?
Matryoshka seemed to think it's good!
As a side note, the Matryoshka is actually a set of nesting measuring cups. Functional, space-saving, and cute!
Ingredients:
*Frozen hash brown cubed potatoes (1 2 lb bag)
*Sour cream (1 16 oz carton)
*Cream of chicken soup (1 10 3/4 oz can)
*Shredded cheese (2 cups - cheddar, sharp, or whatever you prefer)
*Corn flakes (2 cups)
*Butter, melted (1/4 cup)
*Chopped onions (1/2 cup) - optional (I skip the onions)
Supplies:
3 quart casserole dish or 9 x 13 glass pan
Prepare:
1) Thaw potatoes - the recipe said you can use them while still frozen, but this has never worked for me. I usually just put the bag of frozen potatoes in the refrigerator the night before I'm ready to make them.
2) Preheat oven at 350 degrees
3) Grease casserole dish
Directions:
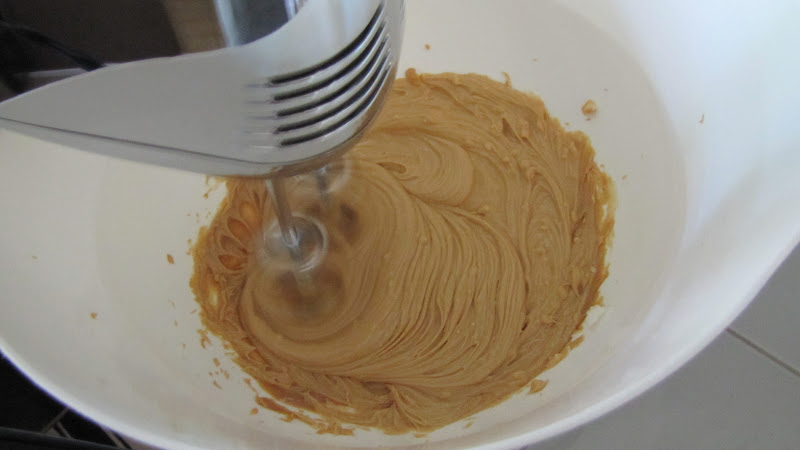
1) Combine sour cream, soup, cheese, (and onions if you choose to use them) in a large bowl. Just stir it all together.
2) Add potatoes to mixture and stir it up.
3) Pour the entire mixture into your greased up casserole dish (or glass pan).
4) In a separate bowl, melt butter. I usually do about 10 or 15 seconds at a time until completely melted.
5) Add corn flakes to the melted butter and mix it up to give the corn flakes a good coating of the melted butter.
6) Sprinkle the corn flakes all over the top of the mixture in the pan.
7) Bake at 350 degrees for 1 hour. Remove from heat and let cool a bit. Then serve and enjoy.
I'm super hungry now just from looking at all these pictures. Yum!
Linked up to: