Are you pet lover? If so, then I have something really cute for you for the holiday season. See this guy?
It's his second Christmas and he finally got his own stocking this year (his mama was too lazy to make one for his first Christmas. Ahem).
I've actually made quite a few of these (all for dogs. This was my first one for a cat, but it works exactly the same). I saw a picture of one many years ago online (unfortunately, it was so long ago that I don't remember where) and decided to try it on my own way back when. I had to make another one for someone this month, so I was able to take pictures of the steps - let's roll with the tutorial!
Supplies needed:
*Material (I used faux fur, but you can use felt or fleece or a similar material) - you'll need a color to match your pet's coloring
*2nd Material - (again, you can use faux fur or felt or fleece) - this will be white for the cuff or you can use a different color, for example, if your pet has more than one coloring. It's up to you.
*3rd Material - this will be for the lining
*Felt - this is for the paw pads - you can match your pet's coloring on this also: brown, black, pink, golden...
*Thread to match
*Sewing needle
*Sewing machine (or you can hand sew this. I did this for the first couple that I made)
*Ribbon
1) Trace & cut a pattern onto the back of the main material that you will use for the paw. You will make one with spots for the paw pads and another one without the paw pads (2 pieces). Also do this with the material for the lining (you'll need 2 pieces - no need to trace spots for the paw pads).
2) Trace & cut a pattern onto felt for the paw pads.
 |
| Please excuse this horrible, nighttime picture. |
3) Also, trace & cut the cuff material (rectangular shape).
4) Next is the most time-consuming part of the project. Hand sew the felt into the spaces for the pads on the paw material.
This is how it looks after your done.
5) After you hand sew all the paw pads in, you will pin a piece of the lining material to the wrong side of paw material (you'll do this for both pieces).
6) Pin the cuff material to the top of the stocking (right side of cuff to wrong side of paw). First, make a hem on the bottom of the cuff material. Then, sew the top of the cuff to the paw. DO NOT sew the sides of the cuff - only the top. Do this individually, to both pieces.
7) Pin both pieces together (right side to right side). Sew all around the paw: right edge, bottom, and left edge. Make sure to turn up the cuff to ensure you DON'T sew it in the incorrect placement and DO NOT sew the tops together.
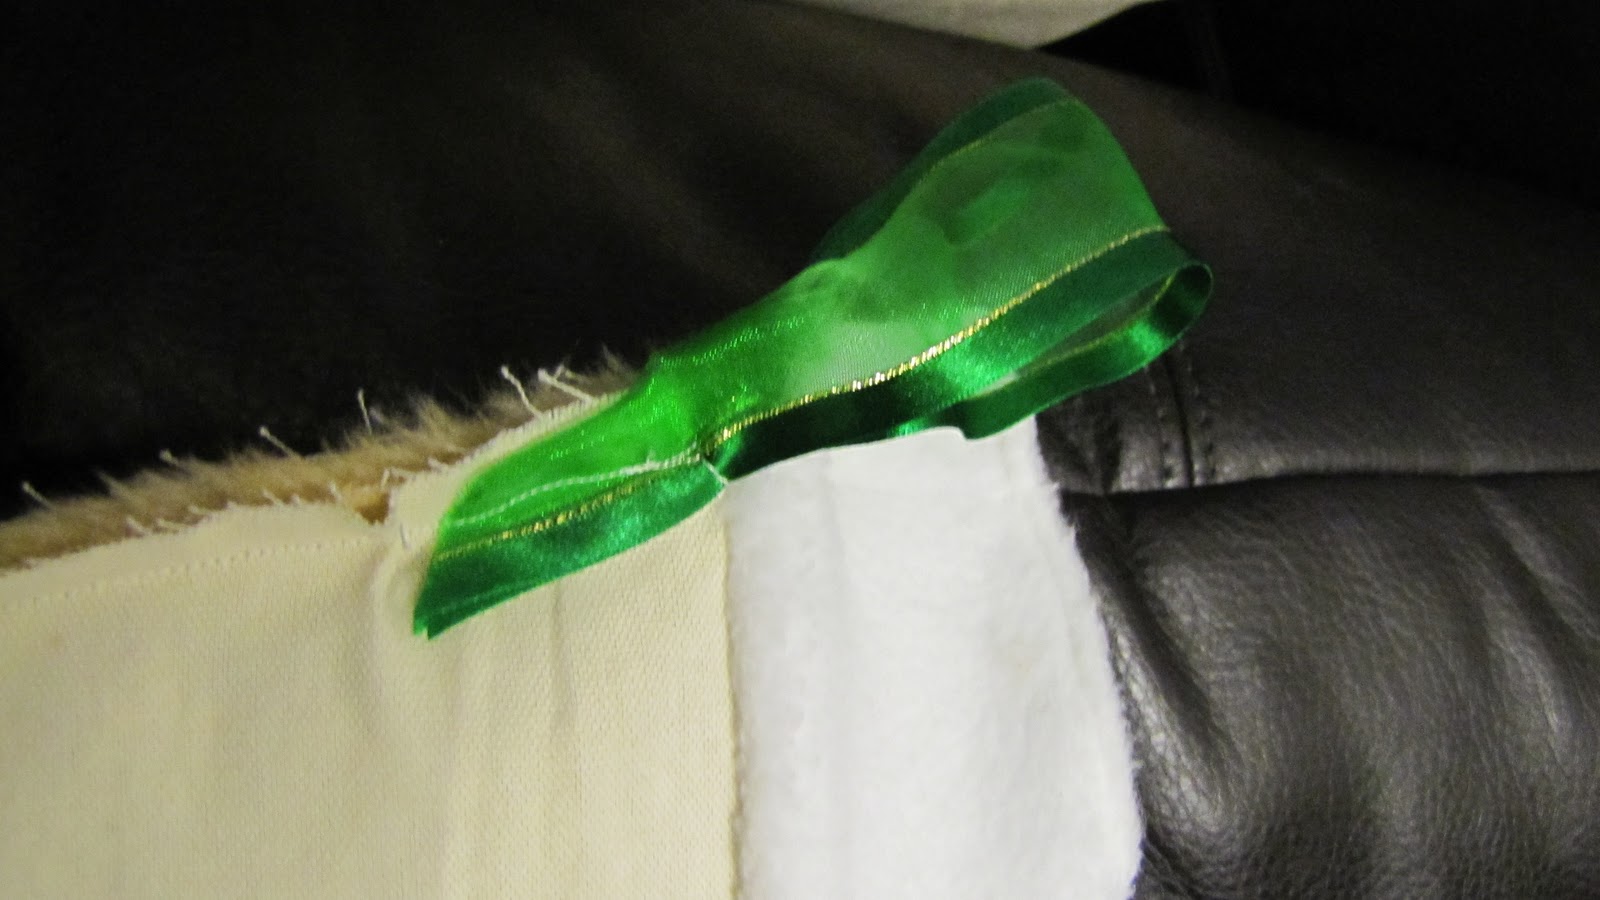
8) With the cuff still turned up, take a piece of the ribbon and make a loop. Pin it to the top edge of the paw and sew it to the edge.
Make sure not to sew it to the cuff - sew just to just below the cuff.
9) Turn the whole piece inside out, so that the right side of the paw is actually showing. Turn up the cuff again and pin the edges together.
You'll sew the right edge and the left edge closed of the cuff only. DO NOT sew the top. After this is done, you just turn the cuff down and make sure the ribbon loop is pulled up. And you're done!
Linking up to
Too Much Time On My Hands get schooled saturday link party.
Also linked up to
The 36th Avenue Amazing Christmas Projects link party.
And linked up to
Tater Tots & Jello Favorite Projects of 2011 link party.