
When I started looking for a home almost 3 years ago, the main two things that I really wanted were: 1) a walk-in master closet and 2) a laundry room inside the house (not in the garage). Somehow, I ended up with a house that has neither - go figure. This is what my master closet looked like before. The closet had 2 sliding doors that went all the way up to the ceiling and were also painted the same color as the room. (This is the wall color that came with the house - not my choice).

Unfortunately, I didn't take any "before" pictures of the closet itself, so these pictures will have to do (this was done over two years ago, before I started blogging, so I didn't always remember to take "before" pictures). The closet had one long shelf at the top. As you can see in the picture above, it had two rows of rods on the left side to hang clothes. And on the right side of the closet, seen below, it had one rod to hang longer clothes like dresses & pants. This was all fine, but it was original to the house, so 21 years old, and the plywood was a bit rough so I didn't feel comfortable putting folded clothes on the shelf. I also wanted to be able to put all of my clothes inside the closet (so everything is in one place), so I wanted to include a system with drawers, shelving, and a shoe rack. On top of all that, I hated the doors - they didn't slide smoothly and I think to paint the doors back to white would have been a pain, so off they came.

First thing's first - I wrote down what types of items I had and how I wanted them stored in the closet (what to hang on the rods, what to place on shelves, and what to place in drawers). Doing this, made it easier to figure out what I needed and if I had any flexibility in case the prices were ridiculous. I did do a bit of research, as far as prices go, and decided to invest in the ClosetMaid system at Home Depot. Here is the set up I bought (sorry for the bad cel phone picture).

This is a picture of the closet in progress - the doors are still gone (I left them off for about a year) and the cubbies on the left were still open. I discovered that the Ikea fabric bins that I used in my craft room fit these cubbies perfectly, so I bought a few to put there. I was able to fit more of my purses and tote bags by using them. (Side note: the room was painted Sandstone Cove by Behr).
IN PROGRESS
As for the closet doors, I couldn't find any pre-made doors that would reach all the way up to the ceiling. I looked into having some custom made, but it was going to be very expensive. So, the only solution was to build a header, this way, I could buy pre-made doors to fit. This worked out perfectly.

Here are more pictures of the inside of the closet:
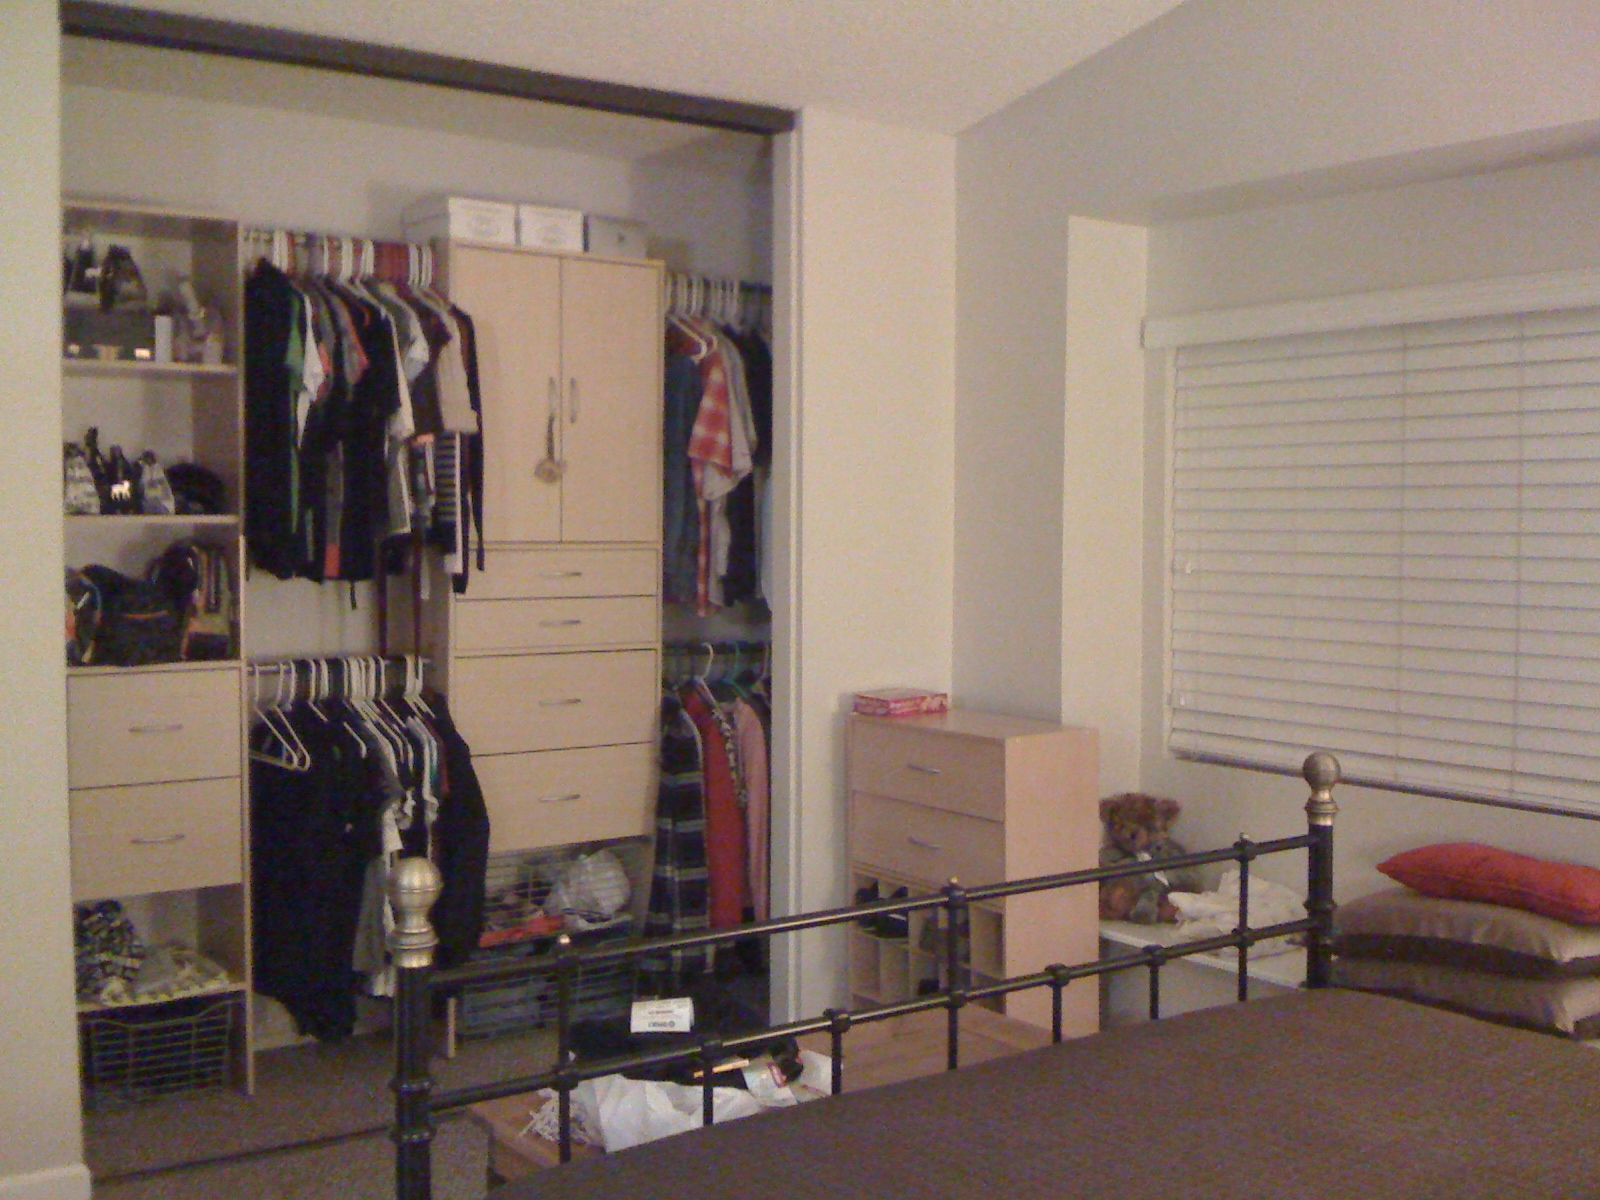
Everything is much more organized and eliminated a need for a dresser, which I didn't have nor have room for. See how the black fabric bins from Ikea fit perfectly in those three cubbies?

The two doors on the right above those drawers opens up to reveal shoe storage. Love!

There's also wire baskets that slide out. They are perfect for all of my jeans. I was also able to fit a wicker basket on one of the lower shelves to fit seasonal items like scarves, gloves, and beanies/hats.

On the left, as seen in the below two pictures, you can see that I was able to fit another rod for my longer clothes like dresses and pants. The rod is hung perpendicular to the other ones because of the way that corner is. I was also able to put my laundry basket as well as a little step stool in that corner since there was no other room for it in the closet.


The picture below shows how the wall is at an angle, making the inside corner of that closet at a weird angle (what is it with my house and weird angles in closets?).

So, there it is. My non-walk-in-master-closet! Here's a before & after since we all love before & after shots.
BEFORE
AFTER

Thanks for looking!
Linked up to Thrifty Decor Chick's Show Us Your Closets link party.
 |

No comments:
Post a Comment
I would love to hear from you. Feel free to leave a message below - I will respond back via email, but if you have a no-reply or don't leave an email address, then I will reply below your comment. Thanks for taking the time to visit and commenting! It's much, much appreciated.