

As you can see in the picture above, there were some pieces of partial tile that were installed up to where the previous vanity was. The vanity had been sitting directly on top of the cement subfloor. So, first thing's first - rip out those partial pieces of tile. I used the grout blade of my Porter Cable multi-tool.

I was able to cut into the grout with this tool. Since I was trying to save the neighboring tile and not damage them, this was the way to go.

Once I cut all the way through the grout on each side, I used my crowbar & hammer to pop out the tile. Oh. And lookie there. Linoleum's underneath. Crud.

I ripped out the rest of the partial tiles. They actually popped out really easily. Once all those were out, I used my utility knife to cut out the linoleum. Easy peasy. And then I vacuumed all that dust and dirt up really, really good and cleaned the cement floor with a mixture of water and bleach.
Once dry, it was time to install the tiles. Fortunately, the previous homeowners left some boxes of leftover tile in the garage for me (sorry not sure what the brand is). I laid a couple of tiles down before doing anything, to see how they would fit and how many I would need to use.

This tile cutter I bought for about $19 and it worked perfectly for the job. The tile has a lot of texture (which looks nice, but a pain to clean), so it took a little muscle to cut the tile sometimes, but other than that, it was easy to use. When I did a dry-fitting of the tile (they're 13"x13"), I figured that I would need 3 tiles total - 2 full tiles, plus 1 to cut for all the edge & corner pieces.


I didn't worry about perfection in the spacing because this section is going to be underneath the new vanity. I just eyeballed it and it looks just fine. No one will ever look under the vanity to inspect it. :)

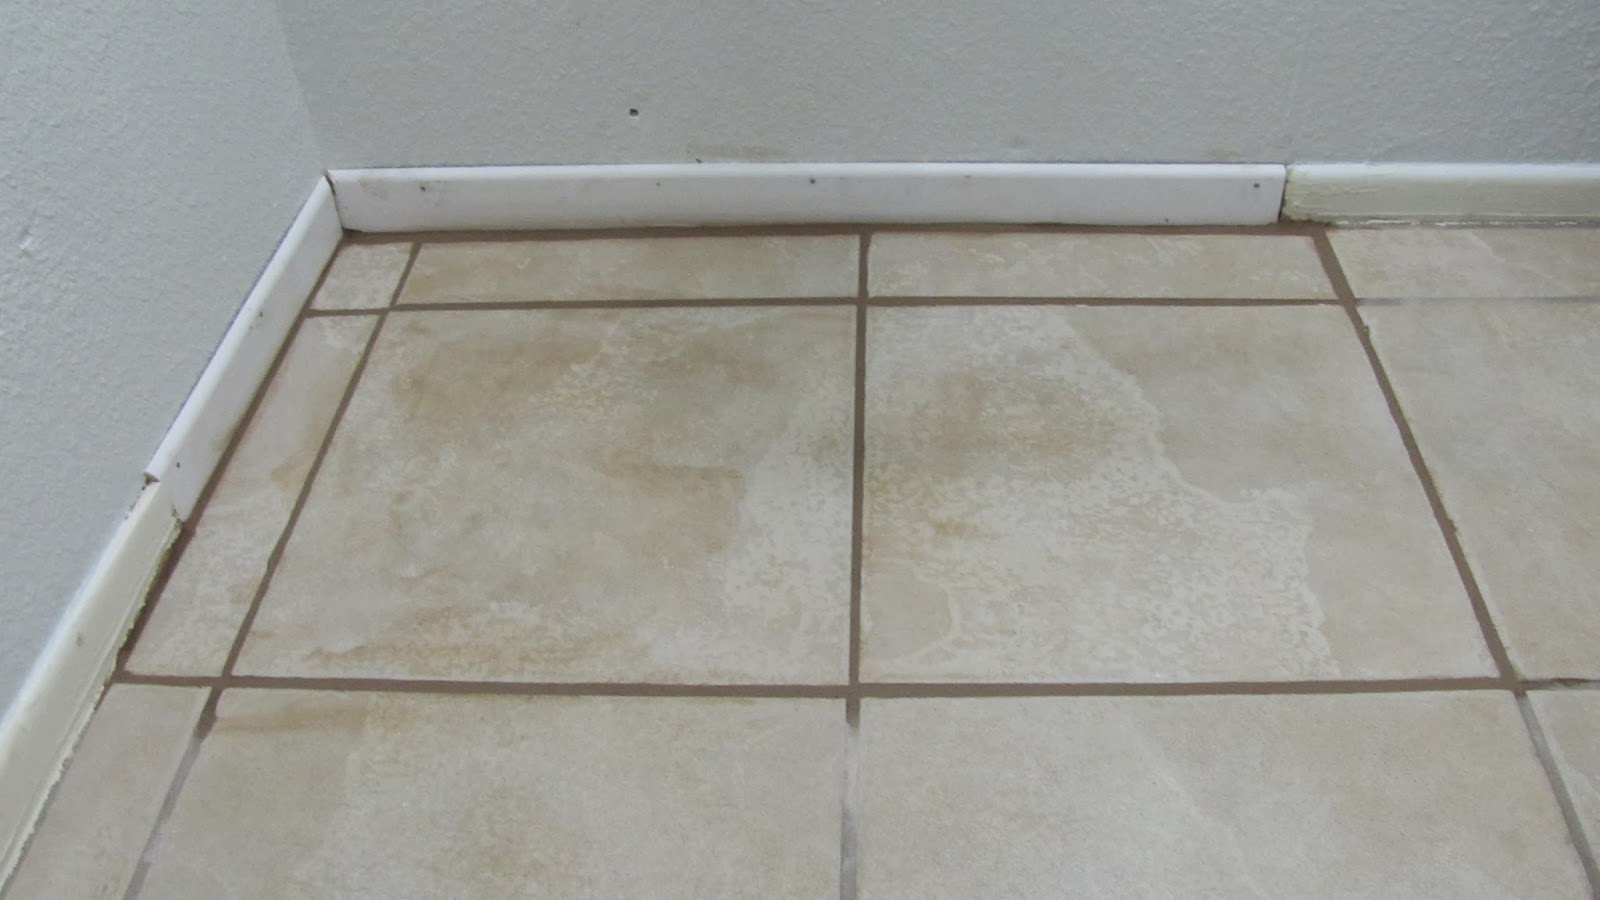
I let it set for at least 24 hours before I installed the baseboards. I had to install the baseboards first because the rest of the tile in the bathroom (and the rest of the house) was grouted up to the baseboards.

When I was ready, I mixed up a batch of grout (color: Haystack by Custom Building Products) that the previous homeowners left behind with the leftover tile. I ended up mixing up too much - I had only put a little bit of water in this container, but it sure took quite a bit of the grout in order to get the peanut butter-like consistency. But, too much is better than too little.

With the grout float, I just smushed in the grout in all the lines and made sure it was all flush with the tile & that there weren't any missing spots.

And then just wiped it all up with a big sponge.
At first I was worried about how dark the grout was compared to the current grout. I thought that maybe it wasn't the same color grout. But I knew that it would probably dry up just fine. And it did. Whew!

And the last step was to seal the grout. I used the little bottle with the roller applicator and followed the directions. I think I put 2 rounds of it and let it dry overnight.

A quick note - I didn't worry about the tile being level. My thinking was that it will be under the new vanity, so no one would notice. After I installed it, I had a big "duh!" moment - the floor needs to be level so the vanity would be level. DOH! It was too late by the time I thought of it, but I didn't worry too much because I could just use shims to make it level (and it turns out that the legs on the new vanity have knobs that turn to make it higher or lower. Sweet!).
With the tile & baseboards installed and painted, it's all set for the new vanity to be moved in!
Originally posted by Adventures in DIY
It turned out great. You really installed the new tiles like a pro. Thanks a lot for sharing the steps on how you did it.
ReplyDeleteDiscountTileOutlet.com
Thank you!!
Delete