

It's hard to tell, but it's a sage green color and matched the bedding I had bought at the time. Although I had changed my bedding, I never changed the bed skirt - not sure why, but just never did. I've had the idea for a long time to make a new bed skirt using painter's dropcloth (I bought mine from Home Depot) - I just needed to figure out exactly how to execute it. And since I was going to have houseguests, I figured it would be a good time to finally get it done.
The white part of the old bed skirt is made out of fabric. Originally, I was going to just undo the seams where the green skirt and white fabric meet and then sew on the dropcloth, but there were actually two seams per side sewn in so it was going to take me too long to take them out.
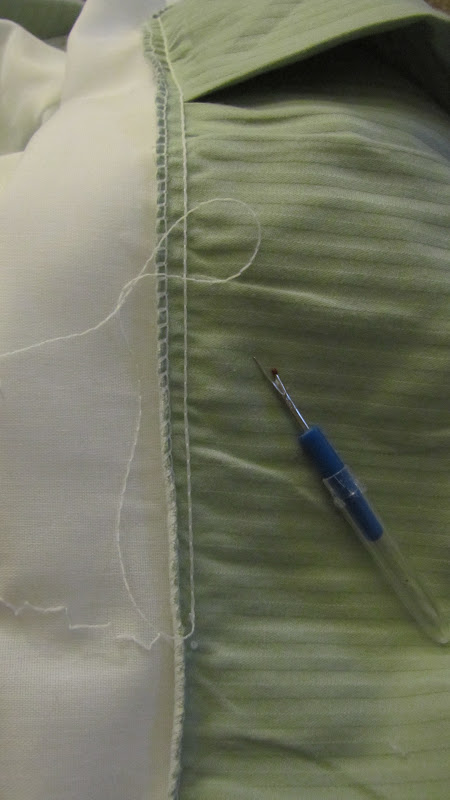
So, I decided to just sew over the green skirt. The old skirt was a bit short, so I just measured the height again and decided to make the skirt a little bit longer.

I cut the dropcloth to the size I wanted. I tried to use as much of the edges that were already hemmed so it would save me a step. I made sure to hem any edges that still needed it.

Once I cut & hemmed all the pieces, I pinned them right up against the edge where the green skirt meets the white fabric.

At the corners, I just overlapped the pieces.

Once I sewed all the pieces on, I cut most of the old green skirt off so you wouldn't accidentally see it underneath.

Here is the finished product!


 |
Linked up to:
Our Thrifty Ideas' Tutorial Tuesday link party

The DIY Dreamer's From Dream to Reality link party

The NY Melrose Family's Whimsy Wednesdays link party
Live Laugh Rowe's Live Laugh Linky link party

House of Hepworth's Hookin Up With HOH link party

Delightful Order's Delightfully Inspiring Thursday link pary

The 36th Avenue's link party

One Artsy Mama's Shine On Fridays link party

Thrifty Decor Chick's August Before and After link party

Too Much Time's Get Schooled Saturday link party

Tater Tots & Jello Weekend Wrap Up link party

House on the Way's Twirl and Take a Bow link party

Homework's Inspiration Board link party

Thanks for stopping by!
Posted by http://adventuresindiy1759.blogspot.com/
great job-i could use a cleaner looking bedskirt, but i don't sew. love the 2 rugs pushed together to make one (that's a great idea, especially with that ikea rug) and yay accent wall!
ReplyDeleteLOVE the skirt!! You did a fabulous job!!!
ReplyDeleteThanks so much for sharing this at The DIY Dreamer.. From Dream To Reality!
I love it! I have two boy's rooms that need bedskirts. You have inspired me! I'd love for you to share it at my linky party, Twirl & Take a Bow at www.houseontheway.com. It's every Tuesday. Hope you can stop by!
ReplyDeleteLeslie