I had previously pinned a couple of good blog posts on how to change an outlet, so I used them as my guide. The main one I used was this one by Young House Love. The step-by-step pictures really helped!
I picked up a new GFCI outlet at Home Depot - I just happened to be there to get other stuff, so I didn't have anything written down as far as what exact outlet I needed. So, I grabbed one that looked right and figured if it was the wrong one, then I could return it and get the right one.
FIRST AND FOREMOST, TURN THE POWER OFF! Safety first!
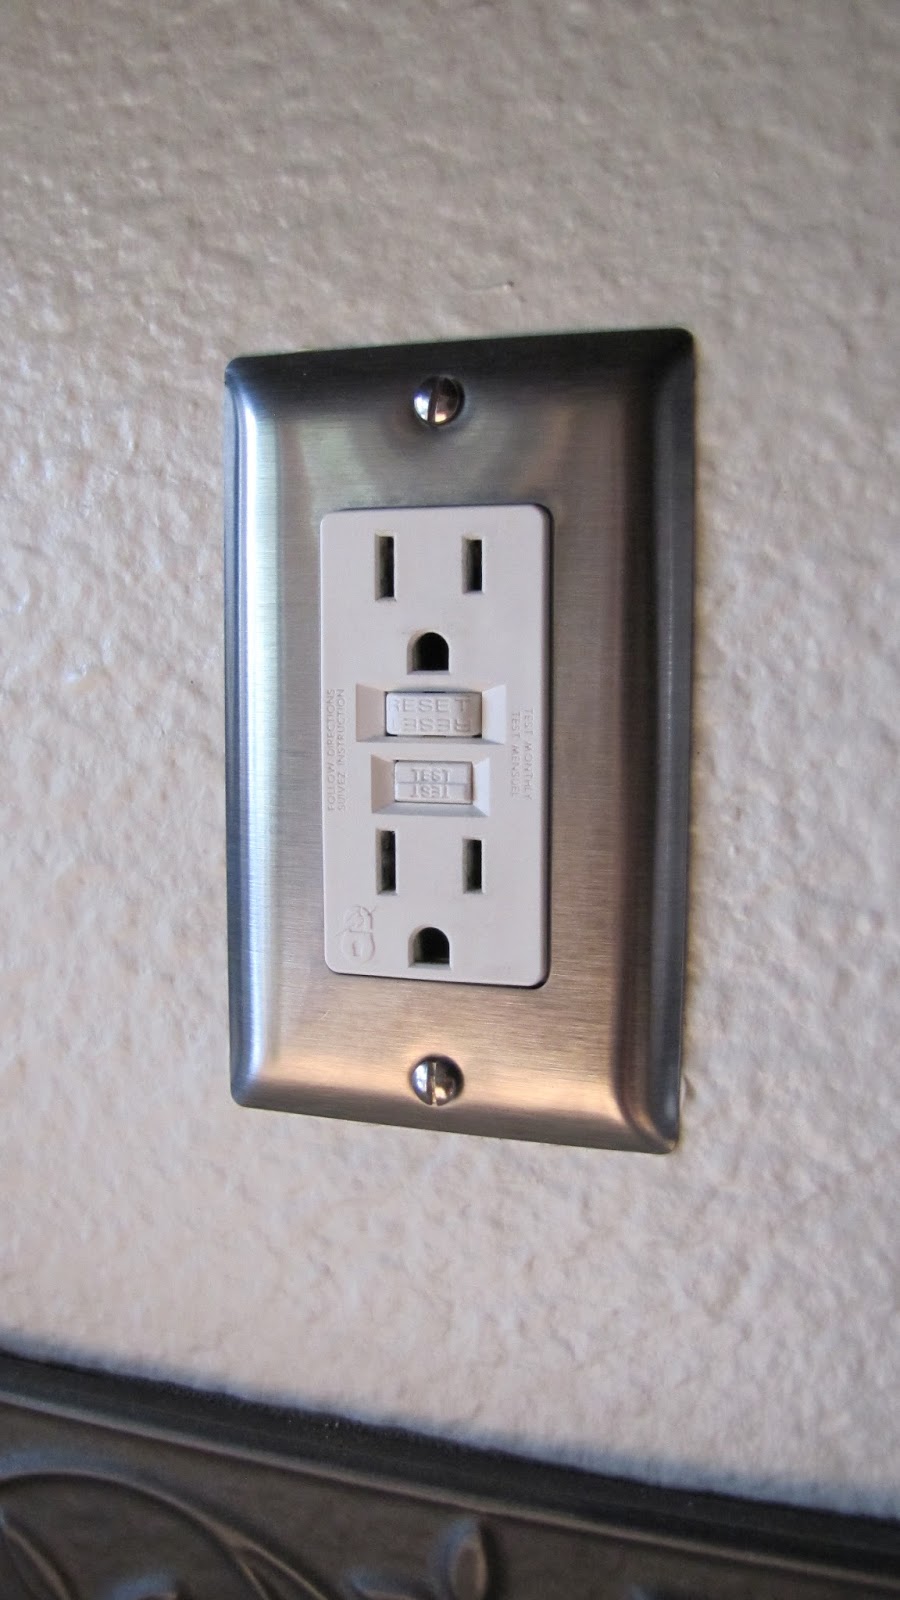
So, this is what I started with. Take the decorative plate off.

Then, unscrew the outlet from the wall and carefully pull it out as much as you can.
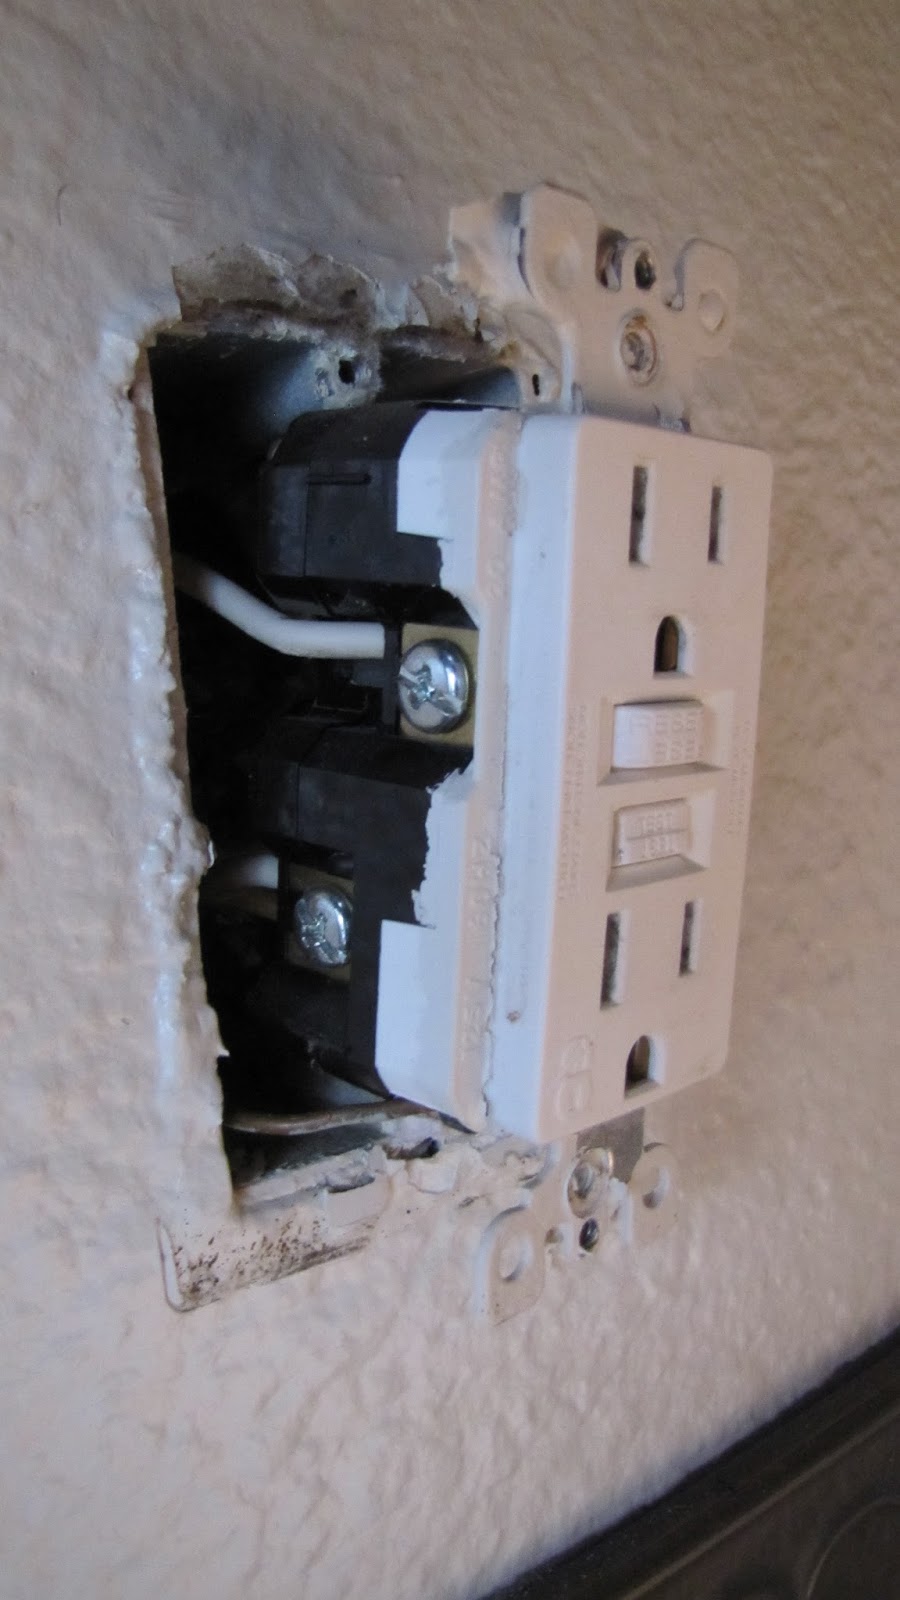
Now, since I wasn't sure if I bought the right outlet or not, before I started to un-hook the wiring, I looked to see what outlet I had vs. the one I bought. You can see in the below picture that on the left side it says "125V, 60HZ, 20AMP". I compared that to my new one and bada bing! It was the right one. Lucky me!

I did look at the instructions that came with the outlet and they were a bit confusing.

So, I proceeded to follow what I had read online - you just match up the wires from where they were on the old one. You just unscrew those screws on the side, slide the bare wire in and then tighten the screw. Easy peasy.

There was also this wire underneath - it just wrapped around the screw. I think it's called the "ground" wire.

Once all the wires were connected, I turned the power back on and tested out the outlet by plugging something in and...WHAT?!? It didn't work. But, that little light in the bottom right hand corner was on! Hmmm...
Luckily, it didn't take me too long to figure it out. After looking at the directions again...
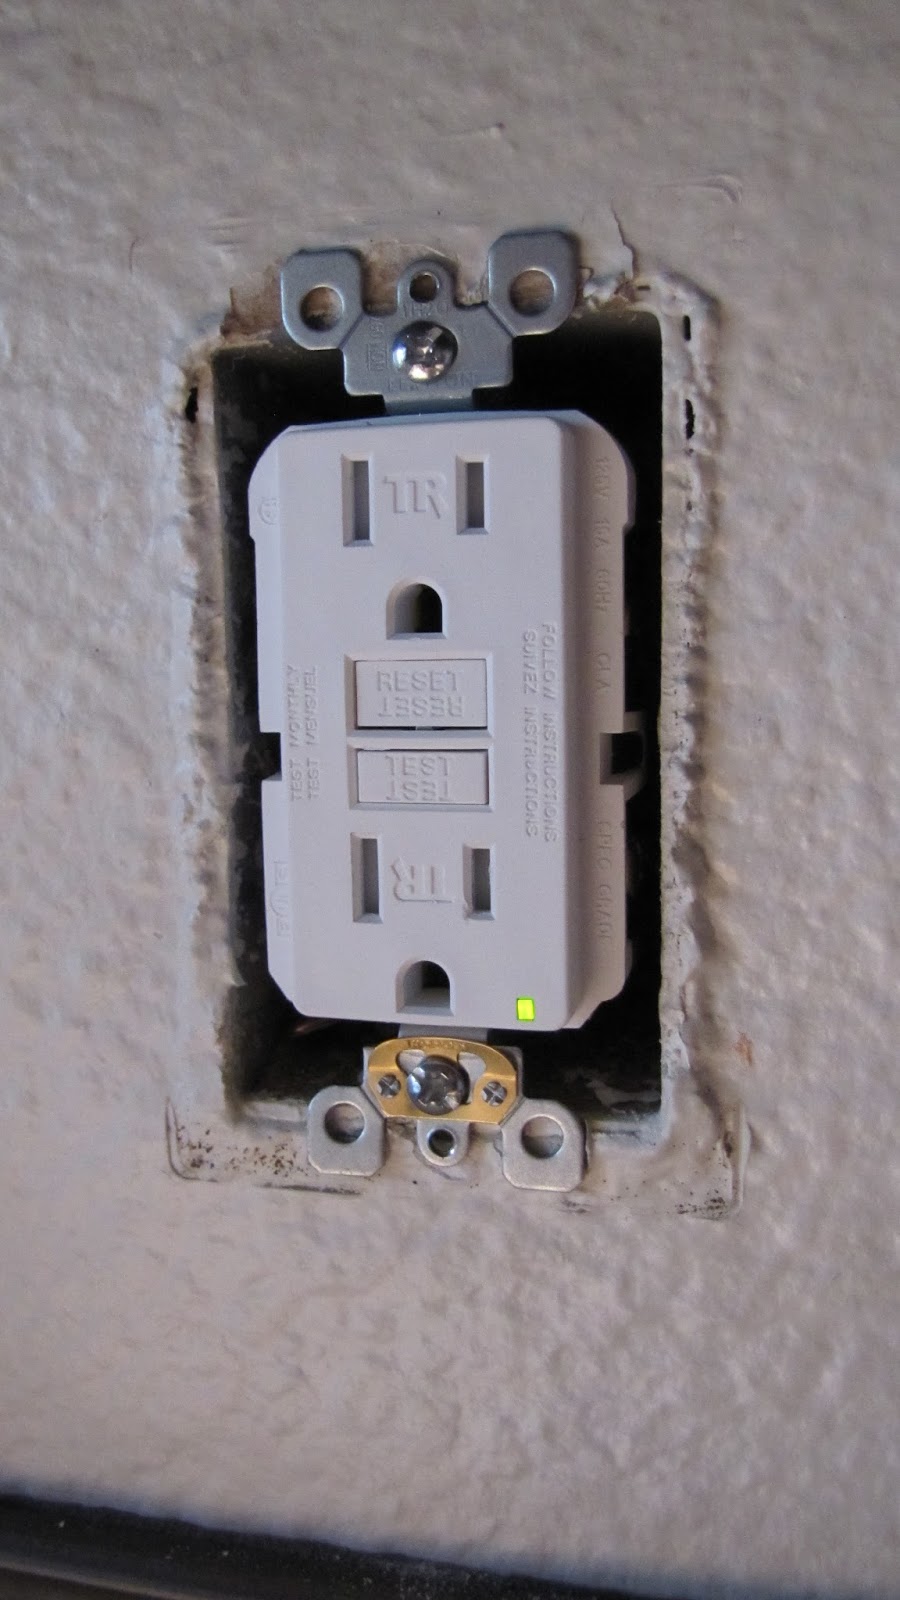
...I remembered that I had noticed that on the backs of the outlets it showed this.

Once I did that, I screwed it back onto the wall and turned the power back on. Apparently the little light just means that all the wiring is hooked up and doesn't necessarily mean you've done it correctly. Hmph.
I hit the reset button and tested it out - BAM! It worked! I figured that the other outlet that wasn't working was connected to this outlet, so after I hit the reset button, I also tested that one out and it worked. Whew! Now, I don't have to use all my appliances in the cramped spot where the one working outlet was.

I would say that this took me about 1/2 hour to do from start to finish. The hardest part was dealing with the wiring because it was pretty thick, so they didn't move very easily. And pushing it back into the wall was a pain because of the thick wiring, but since that was the hardest thing of the whole project, I'm not going to complain. And the best part of it all? I didn't shock myself! Yay!
So, now I can say that I can do minimal plumbing and electrical work! It's really nice to be able to attempt both - it saves me money from hiring a plumber or electrician to do simple jobs. Just remember to be safe when attempting anything like this! (***Disclaimer*** I'm not a professional electrician by any means. Attempt this at your own risk. )
Originally posted by Adventures in DIY
No comments:
Post a Comment
I would love to hear from you. Feel free to leave a message below - I will respond back via email, but if you have a no-reply or don't leave an email address, then I will reply below your comment. Thanks for taking the time to visit and commenting! It's much, much appreciated.