Wednesday, January 18, 2012

How To Organize Instruction Manuals

Hello again!  We're almost half way through the week - thaaaaank goodness!  I have been slowly reorganizing things around the house since the holidays wreaked havoc here.  Not to brag (ahem), but one of my strong points is that I'm super organized.  Everything has a place and I like to keep them in their place and out of sight (but, let's be real.  My house is not perfect and it's often a mess as I'm in the middle of projects or reorganizing).  As I slowly get things in order, I'll be sharing some tips and tricks with you.

Over the last month, I purchased a brand-spankin-new appliance and a few kitchen gadgets, so a few more instruction manuals are now added to my collection.  I decided to reorganize how I store them since it was a getting a tad messy.  At first, I kept everything in my filing cabinet.  I decided that I wanted them all together in one central spot that was easy to get to.  My next idea was to put them in a 3 ring binder using page protectors.  But, some of the manuals were too big to fit inside the page protectors and some of them were small & made the pages kind of flimsy when turning them.  I wasn't happy with that.  On to Plan C - I bought this expanding file at Walmart.  Yeah, it's not the prettiest thing, but that's Walmart for ya and I'm on a budget.  Sometimes beggers cannot be choosers.
It has a nice front pocket that is good for holding those thicker manuals.

I've been using it for about a year and it's been working out very nicely.  It's currently stored in my Craft room's mini-office on the top shelf.  But, look at how thick this puppy is.

It was becoming a pain to take it down and put it back each time I needed to get something from it (which is somewhat often).  And I never even use that front pocket, which was taking up a lot of space.  So, I got the idea to just cut it off.  I figure I can re-use it for storing items together from scrapbooking projects or for something else.

Much better!  It made a big difference.

I took everything out of and made 6 piles by subject/type.  Once that was done, I made labels for the tabs on each section (for some reason, I never did this when I first started using it).  I didn't get too fancy with the labels - just hand wrote them.


Then I got my old school label maker...
...and made a super fancy label for my reorganized file.
Hmmm, this might be hard to read but my super fancy label says "Instruction Manuals".   Ok,  ok.  You got me - it's not super fancy, but I had to hype it up.

So, it's not pretty and cute, but it's functional, keeps all the manuals in one spot, and best of all, it works for me.

Linked up to:
I Heart Organizing's Home Office Organization link party

Delightful Order's Organizing Papers link party


Monday, January 16, 2012

Craft Room - In Progress

Sooooo, I've been meaning to post pictures of a few of the rooms in my house.   They aren't completely finished, but at least "done for now" and thought it would be a nice way to document the changes I make.  Sarah at Thrifty Decor Chick announced that she will be having a new Show Us Your House link party every month (starting this Tuesday), so that got my booty in gear to take some pictures this past weekend.   Of course, the weather decided to be cloudy & rainy after a few weeks of gorgeous weather - figures.  With that being said, please excuse the bad pictures and let's roll with the craft room...

Here is a before picture.  It's a really small room, making it perfect for a craft room or office.

Here it is in progress about a year ago. 
Boxes everywhere!  It took me awhile to unpack and organize.  Sometimes I like procrastinating.  ;)

The bookshelf is no longer in the room.  It's an old Ikea Billy Bookcase from like 15 years ago that I horribly painted this yellow color.  The paint color is decent, but not my paint job. Its home is now in the garage.

You can see how the entrance to the room is at an angle.  The door on the left of the entrance is the closet.  It is one of the teeniest closets I've ever seen - has weird angles in it too.  Unfortunately, I don't have a "before" picture of the closet.

And here it is, as it looks today.  
The paint color is Soft Sage by Glidden.   Ikea Expedit shelving unit (love, love, love the Exedit!).  The pink fabric boxes are also from Ikea, as well as the shorter black & white fabric boxes with the black handles, and the red & white magazine holders.

I labeled the fabric boxes with these tags so I know what's in them.

They are so roomy and can hold so much.  Because they are so roomy, I even have organized them inside by using smaller boxes, baskets, and bins.


The metal cart is a hand-me-down from my sister-in-law (you can also see it in the above picture on the right).  It's great for storing scrapbooking papers.

The bookshelf on the left is from Pier 1 and the "scrap cabinet" is an armoire that I ordered from Walmart.  I will never order from Walmart again - there were broken pieces and it would have been too much of a hassle to return it, but it was cheap and does the trick.  I really need to find a better place for that folding table, too.

This is a lamp I had in my room as a child.   I'm so glad my mom kept it for me.

Look at how much stuff it holds!  I need to do a bit of reorganizing, but the great thing about this cabinet, is I can just shut the doors and the room is instantly transformed into a tidy space. It also holds my printer which is on a shelf that slides out for easier access.


My one requirement for the armoire was a pull-out tray.  I wanted to be able to leave projects "as is" and still have a work space above it.

Are you ready to see inside the world's smallest closet?

Since the closet is so small (see?  Not much room for hanging any clothes), I decided to turn it into a mini-office by adding a piece of wood for the desk and covering it in shelving paper.  It's a good little space for office supplies and paying bills.

 *Before*

 *In Progress*

The bookcases are a hot mess right now - ok I'm exaggerating a bit, but I do need to do more reorganizing and purging.  I have lots of additional supplies that have accumulated since the holidays and need to find places for them.  I've also been sewing more, so I have plans for how to store the leftover fabric (we'll see how that turns out!).  I also plan on painting inside the closet to freshen it up a bit and do some reorganizing in there also.  It's not as nice as The 36th Avenue's craft room, but it's pretty good for now as well as functional. 

Linked up to Thrifty Decor Chick's Show Us Your House party.
Thanks for looking!

Sunday, January 15, 2012

DIY Foaming Hand Soap: Pinterest Addiction #6

Hello there.....if you like to save a few bucks (I know I sure do!), then have I got the post for you tonight.

This will work using any brand, but I like Method foaming hand soap.
Via Target
If you buy it by the bottle, it will cost you about $3.  The refill package is $4.70.  I've never actually counted, but I think you it will get you about 4-5 bottles full.  Obviously, it's a better deal to buy the refills after you buy the bottle the first time.   BUT!  I had seen on blogs and Pinterest that you can make your own foaming hand soap using liquid gel soap and water.  When I saw this, I made sure to buy the gel version, so I could try it.  It was about $3 for the bottle.

After I finally used up all the soap in the bottle, I poured about an inch of the liquid soap into the empty bottle.  (On one blog, they said to use 1 tbsp, but when I tried that, it was no where near enough soap.  I don't like soap that is too watery & runny).

Next, add water, but don't fill it all the way to the top - when you put the pump back in, it will spill if you do.  Some people say not to shake it very hard, but I wanted to make sure the soap and water mixed well, so I shook away.  It will cause bubbles at the top, but the bubbles will go away.

You're all set now - wash away!

Since I just tried this, I'm not sure how long the bottle of gel will last, but it's looking like I'll get about the same number of bottle fulls as the refill of the foaming soap.  So, that's a savings of almost $2 per purchase.  And depending on the brand (I think some brands have gel refills that come in a bigger bottle), you may get even more of a savings.  This will certainly add up over the course of a year!

Saturday, January 14, 2012

New Refrigerator

Lookie what I got today!  Say hello, to my little friend!


Isn't she a beauty?  I ordered it on Black Friday and got a pretty good deal.   I decided to wait until after the holidays to have it delivered.  And here is the reason why...


The old fridge was a loaner and it's in the hallway right now until it can be returned (I can't put it in the garage right now).  This is where the Christmas tree was, so that's why I wanted to wait until after the holidays.  See?  Sometimes I'm thinkin' ahead.

Let's take a closer look at my new friend, shall we?
I love this french door style so you can set large, wide items easily on the shelves. 

Lots of door storage...

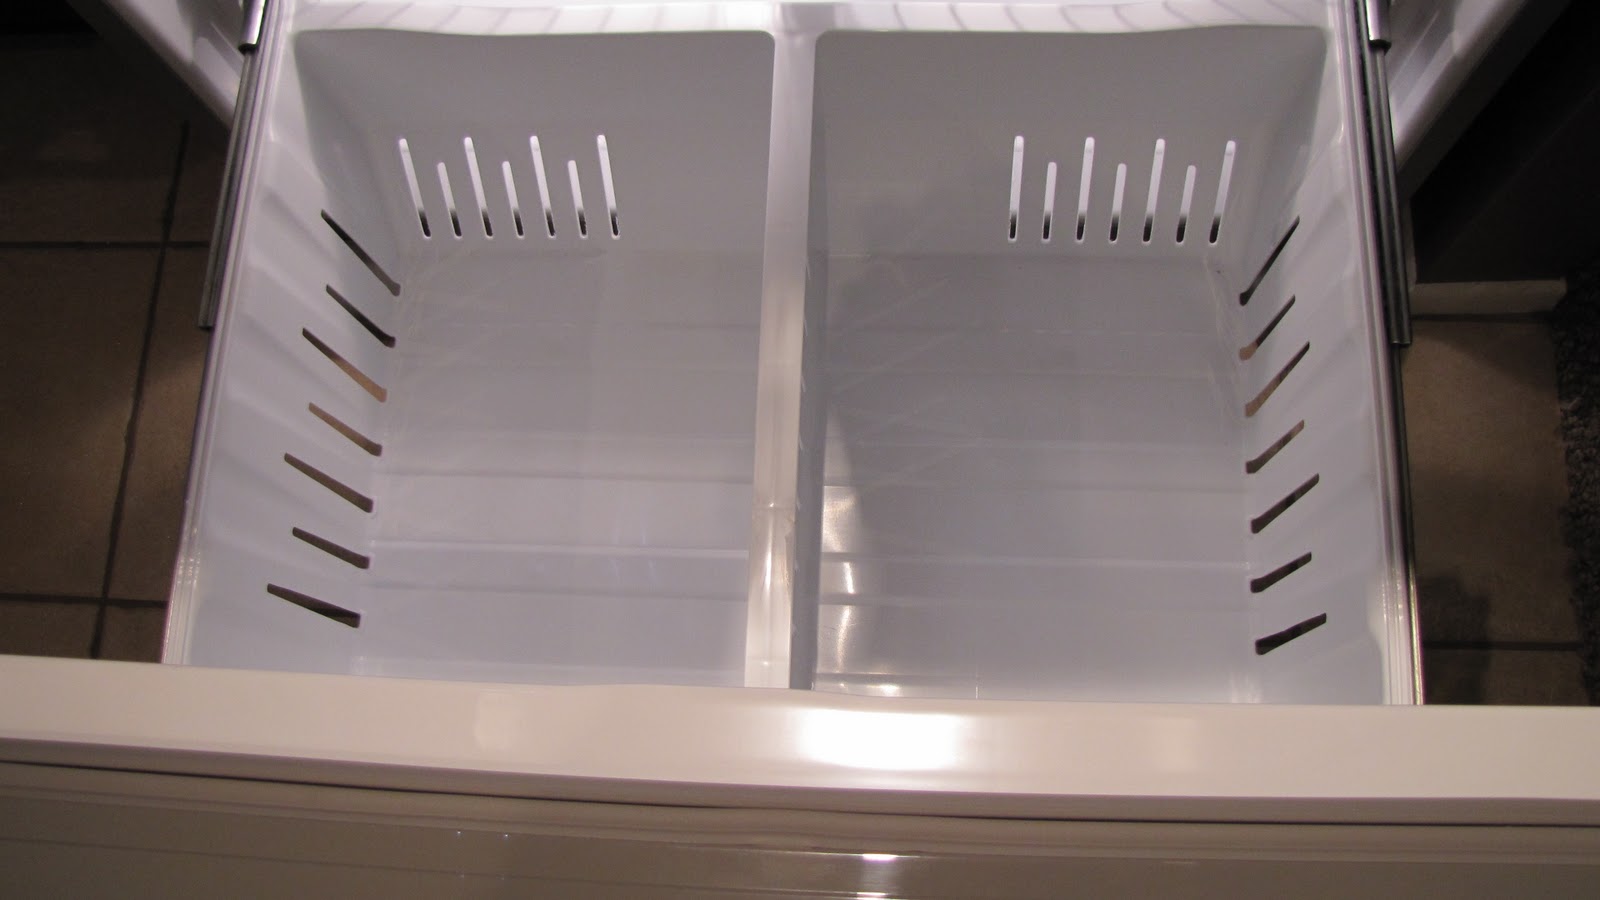
It's going to take some time getting used to the bottom freezer, but I like how there is an extra drawer on the top there.  And by the way, I loooooove that there is a light in the freezer!
 

Ooohh, aaaahhh - fancy water dispenser and fancy light.  Ok, it's not as fancy as the ones that have wi-fi, but seriously, who needs wi-fi on their fridge?  Am I right, or am I right?


And here it is again - one more angle.
YAY!

Sunday, January 8, 2012

Pin Cushion Mason Jar: Pinterest Addiction #5

Well, it's been a full week since I last posted.  I have lots of ideas and projects on the list, but having a hard time getting myself to get them done.  I think with all the holiday craziness, I'm finally letting myself get a bit of rest (although, I am slowly getting some re-organizing done).

I still manage to get on Pinterest, of course, and found these great little pin cushion mason jars.
Via Pinterest
I decided they would make cute little gifts and that I would try to make them using supplies that I already had on hand.  Let's roll with the tutorial....

Supplies needed:
* Mason jar (size of your choosing.  The lid needs to be able to have the center piece removed.)
* Fabric (a leftover scrap piece would work - it just needs to be a little bit bigger than the removeable center piece of the lid)
* Batting or poly fiberfill
* Hot glue gun
* Hot glue sticks
I already had most of my supplies.   The only one I needed to buy were these little sewing kits.  They were $1.47 each at Walmart.

1)  Take a piece of fabric and put your metal center piece from the lid on it.

2)  Then cut a circle out of the fabric.  Depending on how big you want the pin cushion to be, will depend on how big you need to cut the circle.  I just eyeballed it.


3)  Then, get your hot glue gun and put some glue on one part of the inside of the lid.
I only put it on one side first because the glue dries fast and I wanted to make sure that I put the fabric in correctly.

4)  Keeping doing step 3 until you have secured the fabric completely around the inside of the lid. 
The fabric I used was a bit thick, so I made sure that the circle fit flush around the inside edge of the lid.  I didn't want there to be any fabric sticking out making it hard to screw the lid back on the jar once done.  That would be a major bummer.

5)   I originally was going to use poly fiberfill, but ran out.  So, I used some batting instead.  I just cut up little pieces and placed them inside, up against the fabric. 

6)  To test out if you have enough batting, just squish it all in with the metal center piece and poke some needles into the pin cushion.  When you feel that it's all good, push down on the batting with your fingers and then put some hot glue on the inside rim of the lid (right above where my thumb is, but underneath the metal center piece).  I also did this on the exact opposite side of the lid.  Then, quickly (before the glue dries) squish it all in with the metal center piece and make sure to apply pressure where you applied the hot glue.  This step will secure the metal center piece to the inside of the lid so everything will stay in place.
7)  Then, put all of your sewing kit goodies inside and put the lid back on and ta-da!  Your done!

I definitely plan on making more of these.  They are so cute and cheap to make.  It's also good to have one of these in central spot, so you don't have to pull out your sewing basket.  Everything for a quick mend is all in one place.