Today, I'm sharing fabric bunting that I made. I've always loved the look of these, but there's really no place for one in my home, so when the opportunity to make a few of them came up, I jumped on it.

I used this bunting template via Sweetly Scrapped. On this template, there's a tab at the top that I didn't need to use, so I just folded it over beforehand. For both buntings, I bought fabric quarters (is that what they're called?) in the colors I needed. You can see in the pictures below, how I drew it out on the fabric using the template. This was the best way to get the most out of each piece of fabric.


To make the cutting go quickly, I used my rotary cutter. But, you can also use pinking shears to reduce fraying on the edges. After I cut out all the pieces, I used 2 pieces of fabric triangles for the front & back and pinned them, wrong sides together.

Before I continue, aren't those bright colors above wonderful?! These are the colors that will be used in my nephew's baby's nursery and they're so bright and cheerful (this is the theme they are using - so cute!).
I decided that I wanted the seams to show, which is why I pinned them wrong sides together. For the pink & purple bunting, I used thread that matched. For the bright colored bunting, I just used white thread.


Then, I just sewed the triangles to the bias tap. Easy!

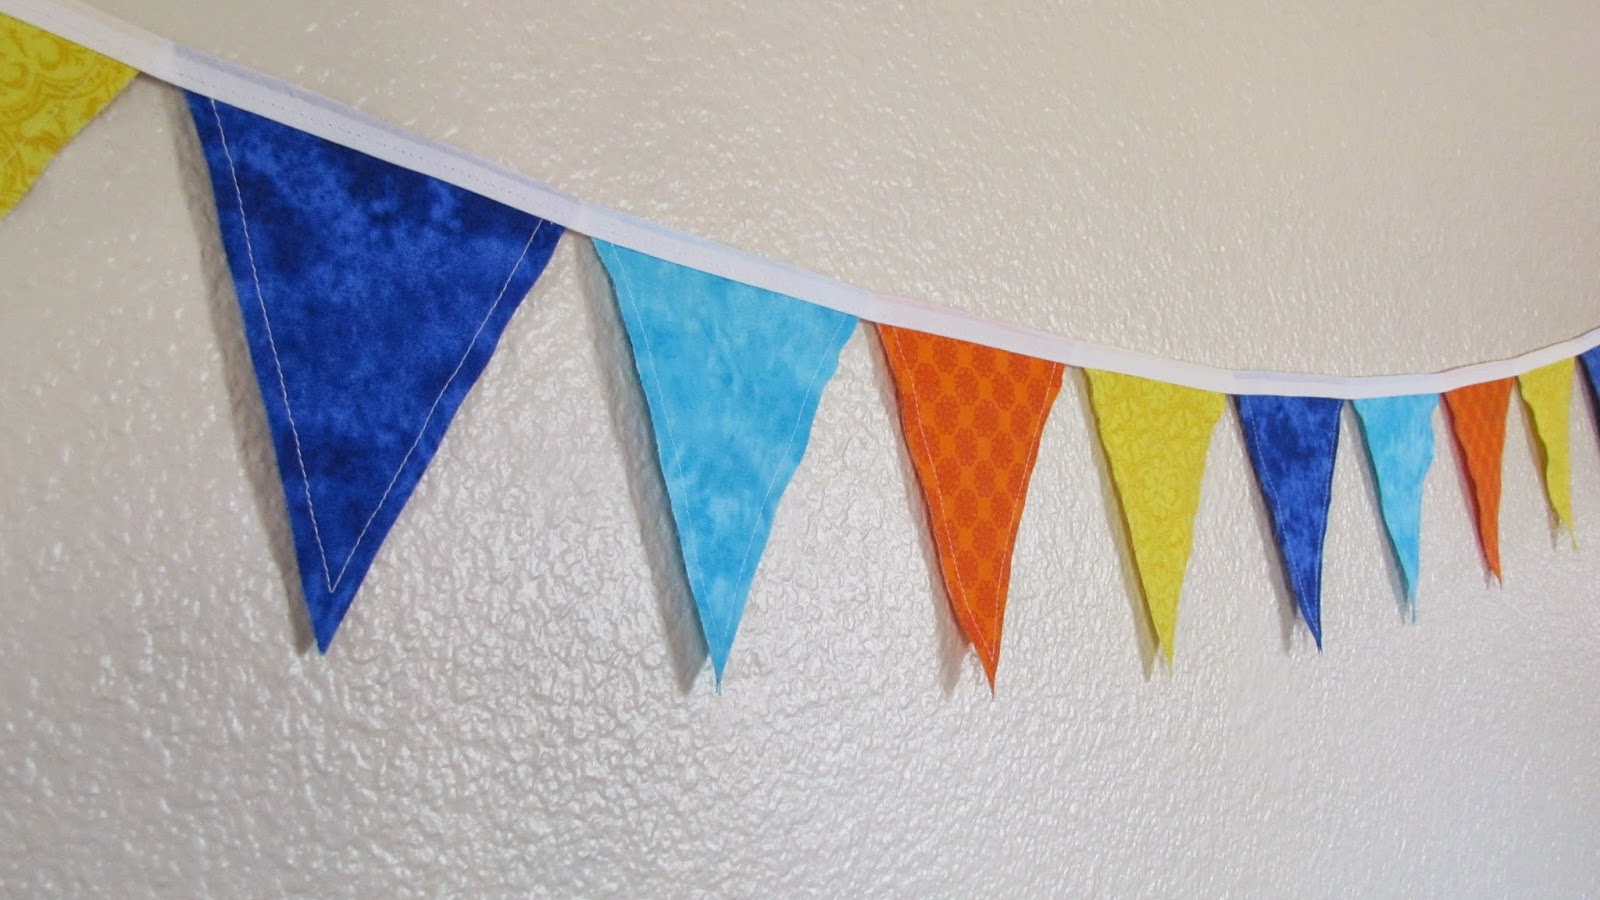
And here's the final product!

(I forgot to take final pictures of the pink & purple one, but that came out cute too)
My nephew's wife really liked the bunting and said the colors will match perfectly in the baby's room.
I went to the baby shower last weekend and from how everything was decorated, I was relieved to see that I did pick out the right colors. Whew!


My sister-in-law is very creative and she did an AWESOME job with the decorations! She's such a talent! (She blogs over at Sweet Memories Scrapbook Kits, so you should hop on over to take a look).

I'll pop back on the blog soon - I went on an awesome vacation this month, so I'll be sharing some pictures. And I'm hoping to do a Summer Round-up too.
Originally posted by Adventures in DIY
You did such a terrific job on that bunting!!! Love it!! So funny (and great!) that the colors you chose went right along with the color scheme of that awesome baby shower! So glad it turned out well and the mama-to-be loved it!! Nicely done, girl! ;)
ReplyDeleteThe bunting looks so cute in the nursery. You did a wonderful job Chrissy. Thank you for all your hard work for Baby Blake's room. He will love it.
ReplyDelete