Hi there!
Since Halloween will be here before you know it, I wanted to hop on to share a Halloween costume I made a couple of years ago for when we went to Oogie Boogie Bash, which is Disney California Adventure's (aka "DCA") yearly Halloween party!
I'm not the biggest Marvel fan, but I do enjoy some of the movies and Disney+ series. With Avengers Campus being a new addition to DCA that year, I decided to dress as Miss Minutes - a character from the Loki series on Disney+. I had a feeling that many people would dress up as the different Loki variants (and they did!), so I thought Miss Minutes was a great choice for a more unique character.
Now, I'm not going to give step by step instructions since I didn't document each step (sorry! I've been out of the blogging habit). And, as usual, I was winging it, so it was a lot of trial and error until I got it just right. Because of this, I won't be able to tell you how to do the measurements based on your body type/size - it will just have to be something that you figure out on your own. But, I'll at least try to explain as best as possible how I did it, in case you'd like to try it in a similar way. So, let's get to it!
To start off, here is what Miss Minutes looks like. She's a cutie!
My original idea was to make two separate pieces - one for the front and one for the back, to be held together by shoulder straps that I'd put on over my head and resting on my shoulders (not sure how else to describe it). In fact, I saw at least 2 other people as Miss Minutes during Oogie Boogie Bash and they both made theirs like that! I happened to be in line for the Guardians of the Galaxy: Mission Breakout ride with one of them - we rode in the same elevator together and we got a kick out of each other's costumes! So, we grabbed a quick photo together after we got off of the ride. BUT, you can see in the photo below, that her's was done in the other style (she's on the left - I covered her face since I don't know who she is). She really did a great job and the face on her Miss Minutes looks much more proportionate to the character.
Are we Miss Minutes Variants?? Maybe! haha
In the end, I decided to make Miss Minutes into a wearable costume. Meaning, I wanted it to be as comfortable as possible - something that I could wear while riding rides and easy to sit in. After deciding this, I sketched it out and made a plan of attack.
Pro tip: Always sketch out your ideas, even if you're not a great artist! It helps you envision your plan & make adjustments as needed. It also helps you visualize what supplies you'll need (this always helps me to make my shopping list!).
Here's my list of supplies:
* Orange felt
* White felt
* Black felt
* White gloves
* Black leggings
* Orange, long sleeve tee (I used a white, long sleeve tee & orange dye)
* Thread (orange and possibly white & black for the face)
* Hot glue (you can use this instead of white & black thread for the face)
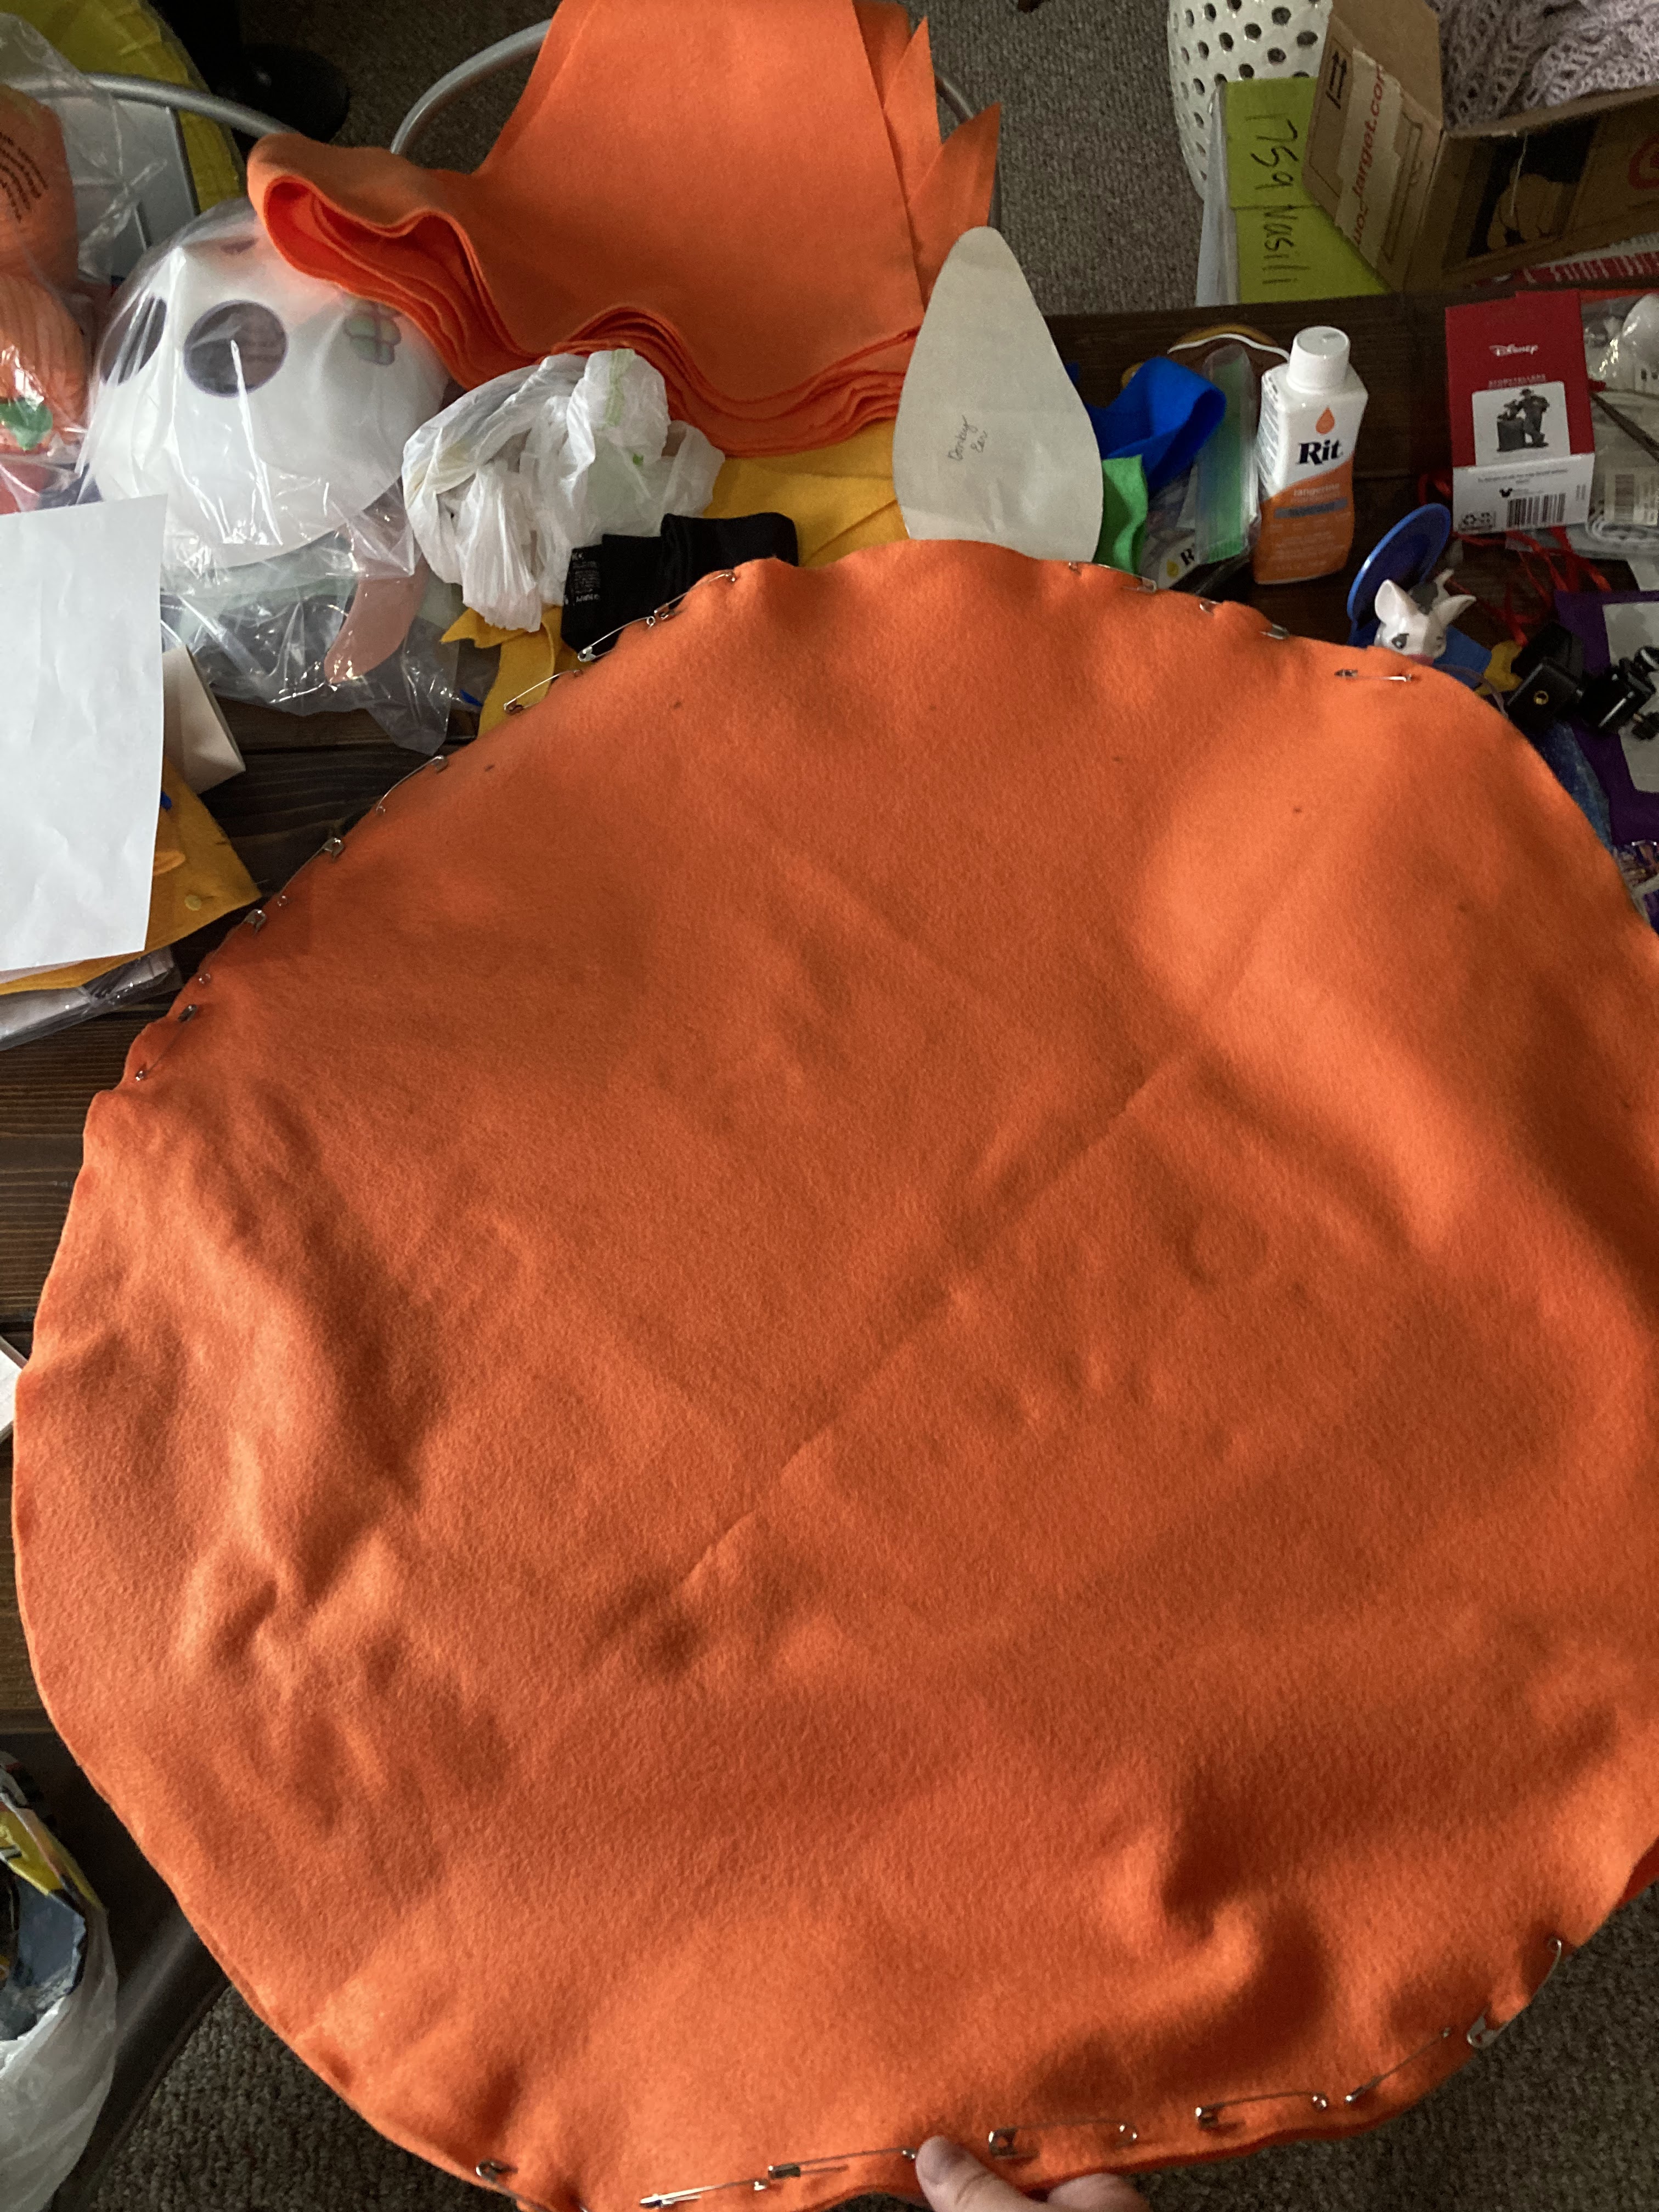
I happened to have a hula hoop & it seemed to be the right size, so I traced around the hula hoop to get that circle shape and cut out 2 of the circle pieces Spoiler alert: this was too big for me, so I kept pinning the size down to adjust it, until I got the size I wanted.
After sewing the 2 pieces together & trying them on, it wasn't quite right. The circular shape wasn't quite staying in place, unless I had my arms out, plus I needed to adjust the holes for my head & arms.
So, I sketched it out again & decided that the sides needed a strip of felt to give it that look of a clock and to also help give it its shape.

Ignore me in these pictures, by the way. This is what working on costumes late at night looks like. LOL
After adding that strip of felt to the sides, it looked much better. It wasn't perfect, but it helped with the shape.
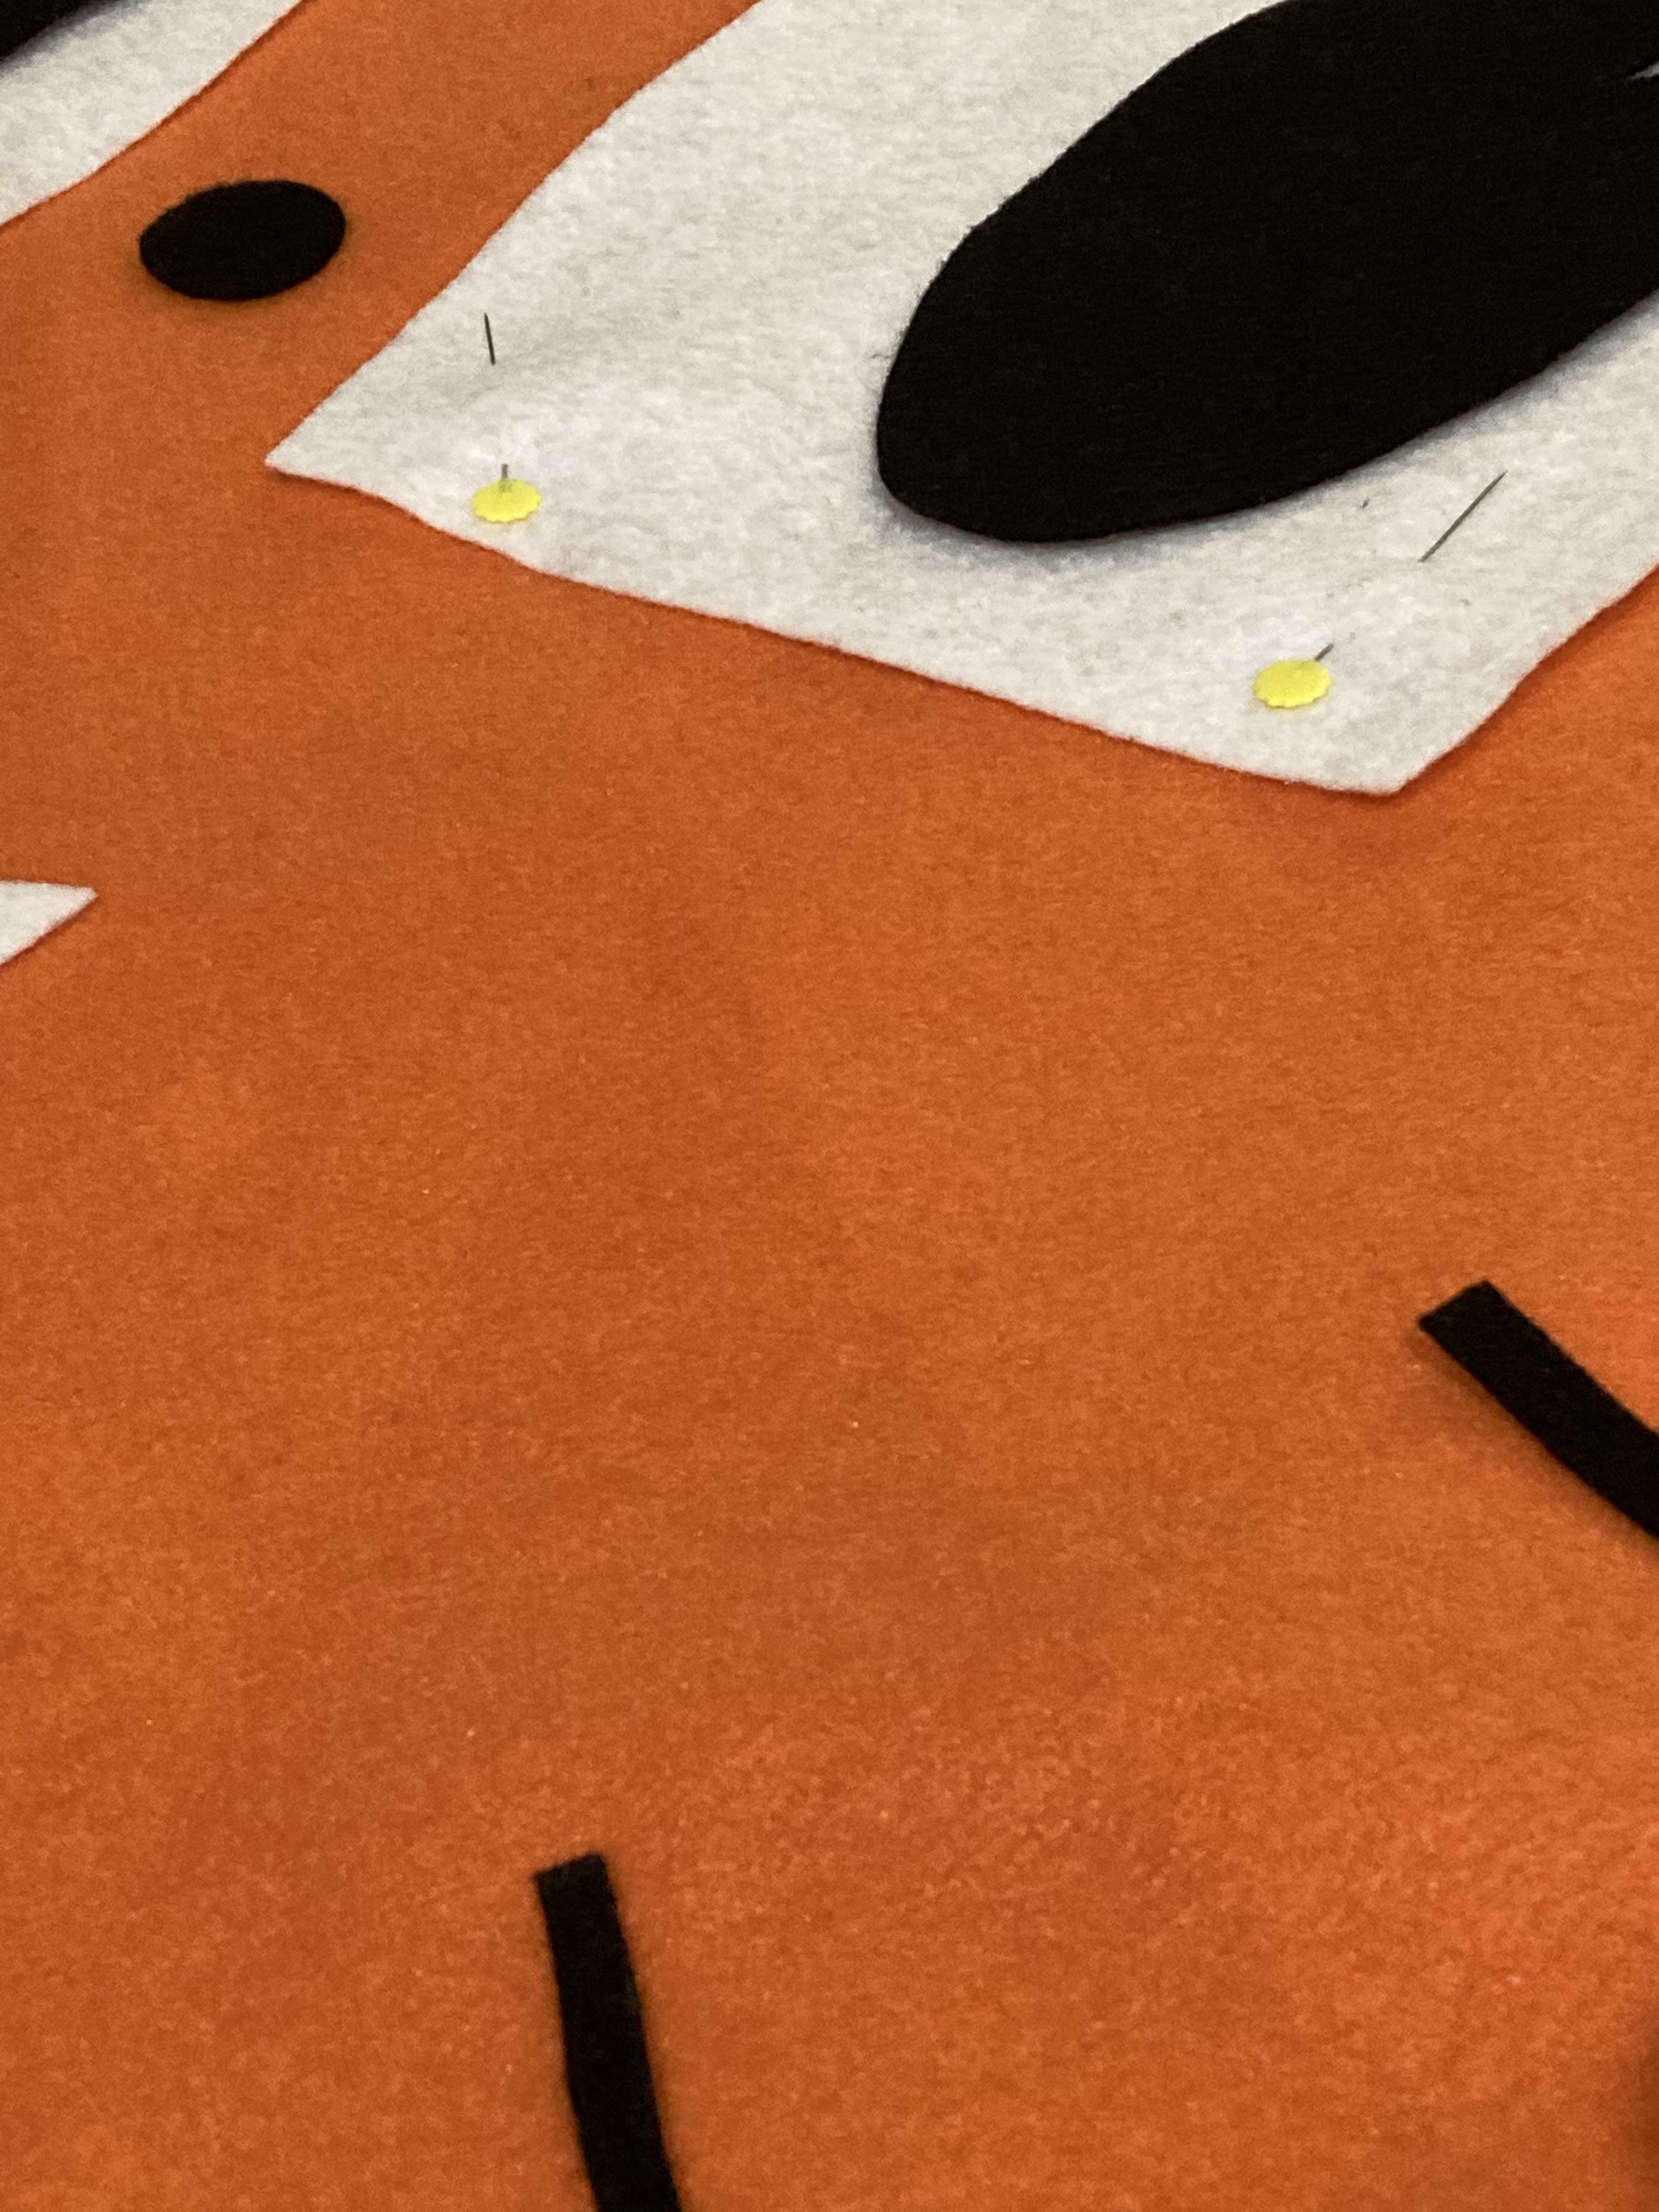
I then cut white felt and black felt to make her face and the little lines that make up the clock face. I originally planned to sew on the pieces of her face to the body, but her eyelashes & some of the clock lines were too thin to sew on, so I just used hot glued them all down to the base. Since it was possible to see the hot glue under the white felt, I only glued on the pieces at the edges (instead of just globbing the glue in random spots).
Pro trip: Even if I'm not going to sew, I still pin down the pieces so I can make any changes/adjustments before committing with hot glue.
Don't mind the mess, but here you can see how I added those strips down the sides. This is when I was really starting to get excited - just look at that face!
Now that I was done with the main part of the costume, it was time to put together the rest. I already had black leggings & had bought a pair of white gloves at the Spirit Halloween store.
But, since I didn't look online soon enough, I kind of missed the boat on buying a long sleeve tee that was orange. This was the moment that I realized I'd be learning a brand new skill - dyeing clothes! I bought a white long sleeve tee & a bottle of liquid Rit Dye in the color Tangerine and just followed the directions on the bottle.
Dyeing
Dyeing clothes/fabric is a huge GAME CHANGER! This has already helped me out on two other Halloween costumes and I'm loving that I'm able to customize clothes/fabric if needed! So easy!
Here's a couple more pictures of my final costume! What do you think? Also, should I do a blog post on my niece's costume too (2nd pic below, she's on the left)? For years, I had "donkey Pinocchio" on my list of costumes to-do, so we were able to finally do it that year!
P.S. I had someone reach out to me on Twitter & Etsy asking if I could make this costume for them, but I had to decline mostly because I didn't know how to make this based only on a person's actual measurements and it needed a lot of trial & error. I was kind of bummed to turn it down because it turns out that per her Twitter profile, she worked on the Loki series!! WOW! I took this as a huge compliment!
Posted by Adventures in DIY


No comments:
Post a Comment
I would love to hear from you. Feel free to leave a message below - I will respond back via email, but if you have a no-reply or don't leave an email address, then I will reply below your comment. Thanks for taking the time to visit and commenting! It's much, much appreciated.