But, since I last posted in January 2021, my DIY skillset has grown tremendously! I have since re-done 2 rooms by removing the popcorn on the ceilings, removing carpet, installing luxury vinyl planks, installing new baseboards, repainting, and re-doing the closets! The last 1 1/2 years have been such a learning experience and I'm so happy with what I can do now. My next project will be doing all of those things (and more!) to my bedroom and I'm excited to get that done!

Anyways, so I'm back with a big DIY. Or at least, for me, at the time, it was a big deal. A few summers ago, during the height of quarantine, I built my first piece of furniture from scratch and I'm here to share what I've learned. It should have been a fairly simple build, but in my true fashion, it wasn't so simple for me. LOL Here's a sneak peek of the sofa table I built!
 |
| (staged it in my hallway! I want one too, now!) |
 |
| (its final home at my friend's house) |
Pre-pandemic, one of my bffs had mentioned she needed a sofa table so she could put up some decor behind her couch. I told her about a sofa table I had seen on Jenna Sue Designs blog many years ago that seemed like it might be fairly easy to build & had been to try to make it one day. She was totally down for it, so it's actually for her!
If you are planning to build this, make sure to follow her plans that I linked above. She does a very thorough job at explaining it. I made a couple of small mistakes because, even though I had read her post completely through many times, when it finally came time to do the actual build, my brain started skipping some of the little details in her post. Oops. But, it wasn't anything that couldn't be fixed, just wasn't ideal.
I started by talking to my friend about how tall & wide she wanted the table and taking many measurements. She wanted it as tall as the back of the sofa, but not as wide. Once I had my measurements, I sketched it out and figured out what sizes & how much wood to buy.

That sketch, took me several days, maybe even a week?, to finalize, but it helped tremendously to have done that. There's actually a couple of more pages, but I planned it step by step WITH the measurements so that I wouldn't have to re-do or re-cut anything. Some things I do off-the-cuff, but with bigger projects, it's always good to have a plan. So, off to Home Depot I went to buy the wood & supplies.


Then I started putting the pieces together. These are the legs.

And laid the pieces out on top of the table top, just to make sure my cuts were correct.

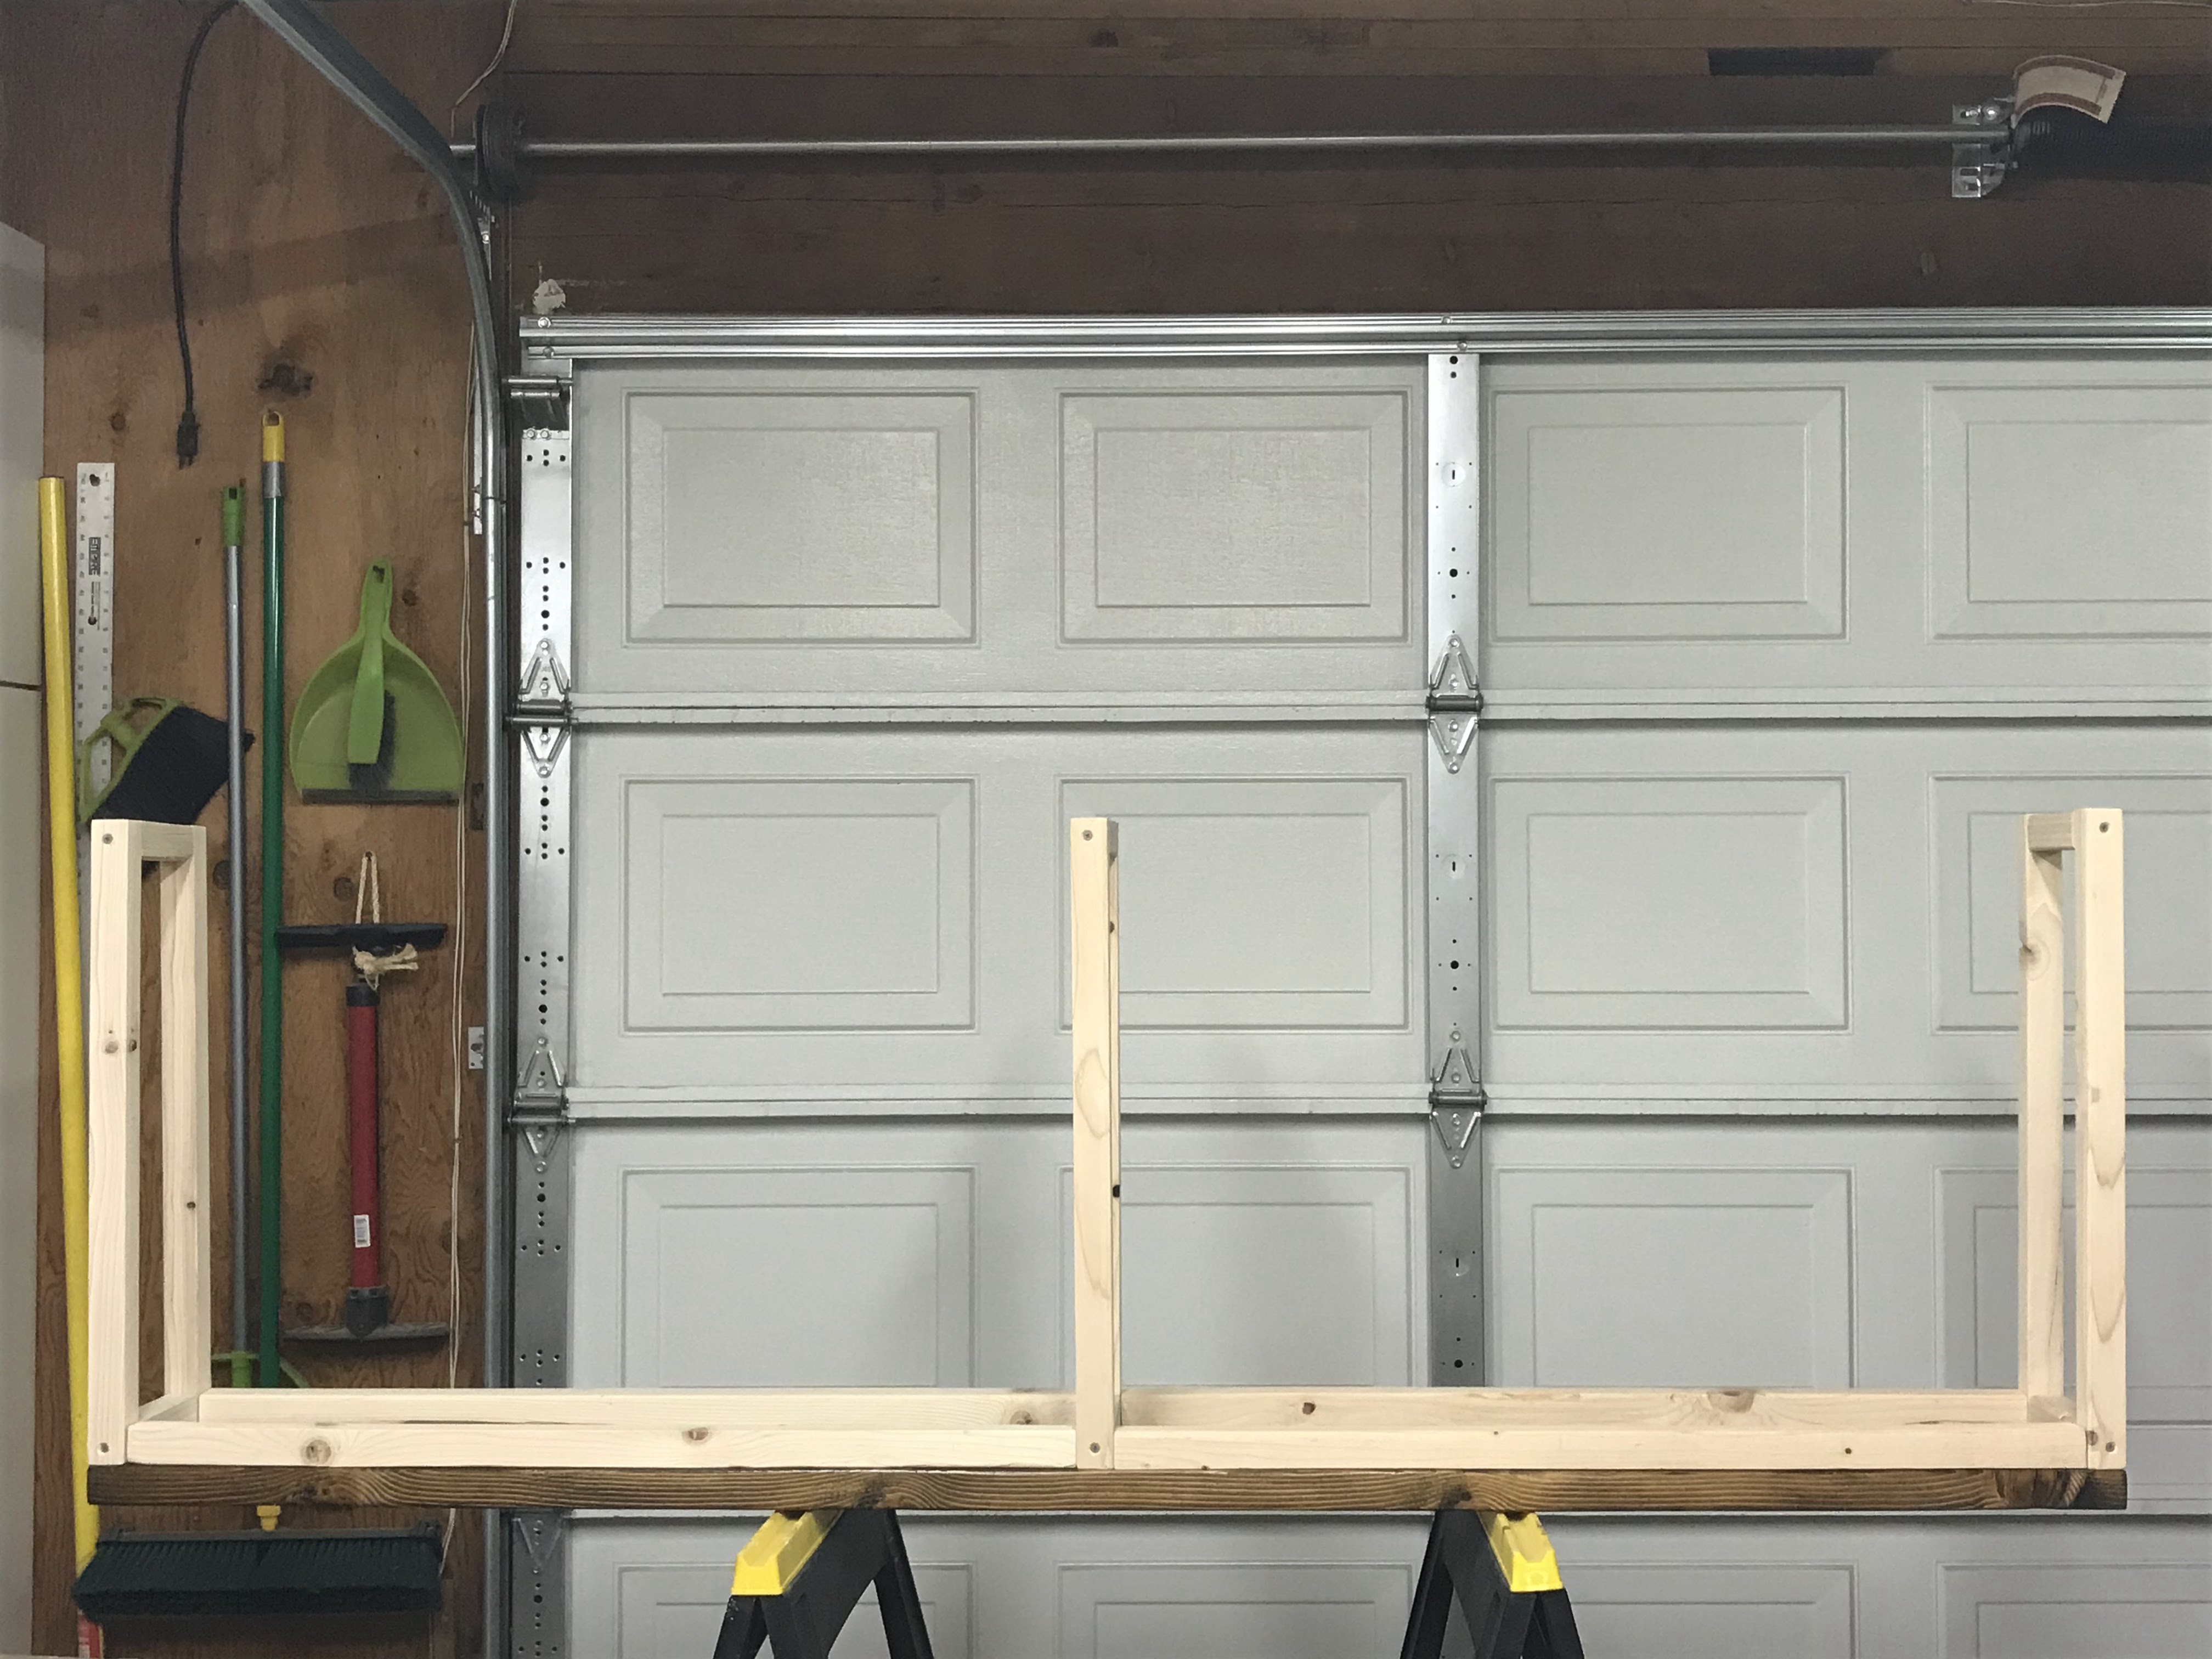
Now, here's where my main mistake happened. Basically, I needed to install screws in the same place more than once, but I forgot to accommodate for that (I didn't leave enough room for more than 1 screw). So, I did end up having to use metal L brackets which worked out fine. Because the table was going behind a big couch, the L brackets aren't noticeable.

My dad loved to build and tinker with tools. He had a habit of buying LOTS of tools and gadgets and often bought duplicates. So, he often gave me the duplicates to try out. He had given me this corner clamp and thank goodness I found it in my stash before I started this table build because it came in very handy for this build!

After building one section, I brought it in the house to make sure it was level.


I stained the rest of the wood & put a clear coat of Polyurethane with a satin finish. I didn't attach the table top yet because I still needed to transport it to my friend's house.

But, before I took its final home, I did test it behind my own couch because I considered making one for myself. I decided that it wouldn't work in my space. My house is very small & therefore my living room is very, very small, so it would have been a tight fit.

I also put it in my hallway & decorated real quick. I have had an Ikea bench in that spot, which has worked great for all of these years, but it's not my style anymore and I don't think I can hack it to make it into the style I like (mid-century modern or just modern), so I'm thinking I might make this same sofa table one day to put there. Not really sure yet because I now have a little ottoman there that I use to sit & put my shoes on. So, maybe I can make a smaller version of it to sit next to the ottoman? Or maybe make it wider so the ottoman fits underneath? Decisions, decisions!

I have a small SUV & the table wouldn't have fit in the back if it was completely built. So, I did travel with it in three sections. Once I got to my friend's place, I just put the 2 bottom sections together and installed the table top and voila! She now has a sofa table to display her things! My measurements ended up being perfect because the table top was flush with the back of her couch. Whew!


Once we put it behind her couch, she immediately started decorating.


She finds a lot of her stuff at flea markets and thrift stores. She especially likes going to the Rose Bowl flea market, which I still have yet to go to! One of these days, I will!

And that's it for my first post back! I know I always say this, but I do plan or at least very much would like to keep posting more. I really do miss blogging, so I will try and do as much as I can and see if I can get into the habit again. And maybe start taking better pictures/learn to edit them better. lol And like I said, I have done some really big projects in the last year and half, but also made some smaller projects, so I'm going to really try to share those soon!
Posted by Adventures in DIY
No comments:
Post a Comment
I would love to hear from you. Feel free to leave a message below - I will respond back via email, but if you have a no-reply or don't leave an email address, then I will reply below your comment. Thanks for taking the time to visit and commenting! It's much, much appreciated.