I've heard about Google+ for awhile now. I even tried using it before, but didn't quite "get it". I think part of that reason is because not many people were using it at the time, so I wasn't quite sure what the point was.
A couple of weeks ago, Kelly at Smart School House wrote this post about how to use Google+ as a blogger, so I decided to give it another shot. And boy, is it a lot different than what I remember when I first checked it out. It's sort of like a Facebook mixed with a blog reader. At least, that's what I've gathered from it so far.
If you'd like to check out my Google+ profile, you can click here. I've also included a button on the right-hand side of my blog so you can add me to your Google+ circle if you would like to. ;)
And don't forget, you can follow me on Twitter, Pinterest, Bloglovin', Linky Followers, or you can subscribe via your choice of reader or via email - all of these have a button on the right-hand side of my blog also. I don't say it enough, but thank you for taking the time to read Adventures in DIY - I truly, truly appreciate it!
Originally posted by Adventures in DIY
Wednesday, June 5, 2013
Monday, June 3, 2013
Garage Entry Door
Hello! I've been busy lately getting things done from my project list. I just love crossing things off of lists. :)
I've painted most of the doors in my house, but I still had 2 left to do. You can see how I painted my interior doors here, here, here, and here. And the french doors here, here, and here. I didn't use any fancy colors, just plain white, but it truly made a difference with all the doors. Everyday, I still look at them and think what a difference a fresh coat of paint did to brighten up the place!
So, 1 of the last 2 doors I had left to do was the garage entry door.
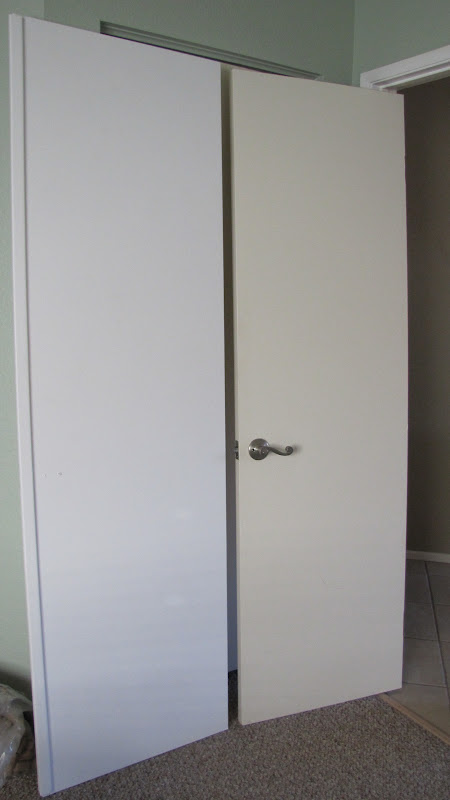
Here is a good "before and after" of other doors in the house since they are side by side. The door on the left got a fresh coat of Ultra Pure White by Behr (off the shelf) and the door on the right was the original color from when I moved in. It looked like a very dingy white. This is a good example of the color difference because all of the doors in the house were this dingy color.
I've painted most of the doors in my house, but I still had 2 left to do. You can see how I painted my interior doors here, here, here, and here. And the french doors here, here, and here. I didn't use any fancy colors, just plain white, but it truly made a difference with all the doors. Everyday, I still look at them and think what a difference a fresh coat of paint did to brighten up the place!
So, 1 of the last 2 doors I had left to do was the garage entry door.
Here is a "before" picture. Unfortunately, with the wall & door placement, these are the best pictures I could get using natural light. It's a bit hard to tell, but you can see the color difference between the door and the door's casing (the casing was already painted the brighter white a few years ago).
It was very, very obvious that whoever painted this door previously, didn't let it dry enough before closing the door. A lot of the paint had ripped off the door & stuck on the weatherstripping. I didn't want the same thing to happen this time, so before I starting painting, I got a piece of yarn and tied it to the door knob and to the metal rack so it would hold the door open.
Side note: the lighting in my kitchen looks pink/red, but it's not really that color. It's weird that it turned out that way in the picture.
I sanded down the parts of the door where the paint had come off from the previous paint job. I did as much as I could, but didn't put great effort into it because this door stays shut all the time, so no one will really notice it. When I painted the new white, this is how it looked.
The perfectionist in me really had to resist fixing it, but it was a lot better than before and at least it's not as noticeable as previously.
I let the door dry for over 24 hours and haven't had a problem with the paint ripping off or sticking to the weatherstripping at all. Here's a before & after of the door after it was painted.
It's only a slight difference in the picture, but you can really notice in person how much brighter the door is now. It doesn't look so dingy and dark in that spot anymore.
Next up...the front entry door. Stay tuned...
Wednesday, May 29, 2013
Painted White Hutch
I previously mentioned that my sister has been acquiring inexpensive pieces of furniture and transforming them into nice storage pieces. I shared with you all the the hutch that she painted green. She had been storing it in her kitchen/dining area, but she replaced it with another hutch that she got.
It looks like it was in decent shape for the most part. She cleaned it up and gave it a fresh coat of white paint and it looks so much better.
She can always update it later by putting different hardware on it or even spray painting the hardware in another color. But, again, this just shows how much paint can transform a piece of furniture.
Originally posted by Adventures in DIY
She can always update it later by putting different hardware on it or even spray painting the hardware in another color. But, again, this just shows how much paint can transform a piece of furniture.
Originally posted by Adventures in DIY
Monday, May 27, 2013
Mickey Burgers
Hello all! I hope you're enjoying the long Memorial Holiday weekend! I've definitely been looking forward to this weekend. Memorial weekend is not only the kick-off for summer, but it's also the first holiday I get off from work since New Year's (and if New Year's Day falls on a Saturday or Sunday, we don't even get that off!). So, that looooooooong 5+ month stretch with no holiday breaks is o-v-e-r!
This weekend, my nephew and I decided to try to make Mickey Mouse-shaped hamburgers on the BBQ. I got the idea to make them when I chaperoned his school field to Disneyland a couple of weeks ago.
I decided to use the slider patties that they sell in the deli section of my grocery store - thought it might be easier that way since they are smaller. I tried this two ways.
The 1st way (the burgers on the left, top & bottom): I used 2 sliders per burger. One slider was used for the main part of his head. I then took the second slider and cut in half and put each half on the top to make each ear. Now, the only downside to this is that the ears didn't stick onto the head very well. I tried to really blend them into the main part of the head - I'm sure there was probably some other way that I could have tried, but I just kind of smushed it as much as I could.
The one on the top right & bottom left are the ones that I just attached the ears separately and 3 of the ears broke off. Oops! But, look how much better they look than the other 2 that I hand-formed!
Originally posted by Adventures in DIY
Linked up to:
This weekend, my nephew and I decided to try to make Mickey Mouse-shaped hamburgers on the BBQ. I got the idea to make them when I chaperoned his school field to Disneyland a couple of weeks ago.
I decided to use the slider patties that they sell in the deli section of my grocery store - thought it might be easier that way since they are smaller. I tried this two ways.
The 1st way (the burgers on the left, top & bottom): I used 2 sliders per burger. One slider was used for the main part of his head. I then took the second slider and cut in half and put each half on the top to make each ear. Now, the only downside to this is that the ears didn't stick onto the head very well. I tried to really blend them into the main part of the head - I'm sure there was probably some other way that I could have tried, but I just kind of smushed it as much as I could.
The 2nd way (the burgers on the right, top & bottom): I used 2 sliders per burger. I ended up just smushing both sliders into a big ball (so, I really could have just used some regular ground meat instead of getting the sliders, but well, this was an experiment) and just formed the ball with my hands into the shape of Mickey's head.
The 1st way: the ears were hanging on by a wing & a prayer.
The 2nd way: looks less like Mickey's head than the 1st way.
So, I threw them on the grill to see if the ears would stay on after cooking for awhile.
Um, nope.
The one on the top right & bottom left are the ones that I just attached the ears separately and 3 of the ears broke off. Oops! But, look how much better they look than the other 2 that I hand-formed!
The nice thing about using the sliders is that they were the perfect size to still be able to use a regular hamburger bun.
Again, so you can see the difference, the one on the left had the ear break off and the one on the right was hand-formed. I just may have to try this again to see if I can perfect it. It's a fun thing for the kiddos for sure.
Originally posted by Adventures in DIY
Linked up to:
Monday, May 20, 2013
Painted Green Hutch
My sister has recently been acquiring some old pieces of furniture (either for free or for cheap at garage sales) and has been transforming them into useable and cute pieces! She owns a restaurant and works long days, 6 days a week, and has 2 young kids, but she has managed to find time on her days off to work at whipping these pieces into shape. She amazes me! To explain a bit further, my cousin & her family live with my sister and so does the babysitter, so there's lots of people under one roof. Between all of them and the restaurant (she stores some of the restaurant's items temporarily at the house), she's in much need of any extra storage she can get her hands on.
Anyhow, I thought that I would share some of these pieces with you so you can see what the power of some elbow grease and paint can do. If she keeps cranking out pieces, I may just have to make this a regular feature!
Unfortunately, I don't have a BEFORE picture, but here is the AFTER. She chose a nice green color she already had on-hand. All she did was clean it up and paint. She didn't even prime it! She put it in her kitchen/nook area and as you can see, it holds a lot of stuff. She also utilized some boxes, baskets, and trays to organize. I'm thinking I may have to help "pretty up" those cardboard boxes with some wrapping paper.
Looks pretty darn good for a quick paint job! I still have yet to muster up the guts to paint furniture - the pieces in my home that I want to paint are all laminate and I'm a bit hesitant to try (but one day I will).
Originally posted by Adventures in DIY
Anyhow, I thought that I would share some of these pieces with you so you can see what the power of some elbow grease and paint can do. If she keeps cranking out pieces, I may just have to make this a regular feature!
Unfortunately, I don't have a BEFORE picture, but here is the AFTER. She chose a nice green color she already had on-hand. All she did was clean it up and paint. She didn't even prime it! She put it in her kitchen/nook area and as you can see, it holds a lot of stuff. She also utilized some boxes, baskets, and trays to organize. I'm thinking I may have to help "pretty up" those cardboard boxes with some wrapping paper.
Looks pretty darn good for a quick paint job! I still have yet to muster up the guts to paint furniture - the pieces in my home that I want to paint are all laminate and I'm a bit hesitant to try (but one day I will).
Originally posted by Adventures in DIY
Tuesday, May 14, 2013
French Doors Window Treatment
After I got the french doors painted, I decided to, well, cover them up! I know - you would think I would want to see my lovely painted doors all the time, right?
I'm truly happy with how they came out, but ever since I bought the house, I have been debating on the window treatment for the french doors. I was never in a big rush to get them done, though - I don't have any neighbors that live directly behind me, since there is a big sports park right behind my house. So, over the last few years, here have been my ideas for window treatments:
1) Bamboo blinds - I really love those. However, all the windows weren't very wide and they would have to be custom ordered which means big buck$$.
2) The old style curtain rods (I remember these from back when I was a kid). But, I wasn't sure exactly how to attach it to my metal/steel doors & sidelites and if I changed my mind later, I'd have good sized holes left in the doors.
3) Magnetic rods. For quite awhile, I thought that this was the best idea because they could be easily installed and removed without damaging the doors & sidelites. But, I wasn't sure how they would hold up to being opened and closed everyday. Also, since there would be one rod per door, the curtains would obstruct a lot of the light since I wouldn't be able to push them completely out of they way of the windows.
4) Install a single curtain rod over all the sidelites, french doors, and the side window. I figured this might be the best & cheapest way to get them all covered up. Also, when I pull back the curtains, it would still allow all of the light in. The only issue was still how much it would cost exactly because of the width of both french doors, both sidelites, and the side window.
Now, it was time to research...I had looked online and at different stores for curtains and could never find a pair that were wide enough (they needed to cover at least 121 1/2 inches). I would have to buy more than one pair and with everything being at least $20, this was going to add up. I even considered using painter's drop cloths and sheets, but with the width I needed, it was still going to not be cheap. I also looked into the hardware (curtain rods, finials, curtain rings) and everything was expensive and a lot of it wasn't my "style". I didn't need or want anything really fancy looking. So, after a lot of research, I hopped on the Ikea website to see what they had. I had perused their window treatments at the store in the past, but I was only just browsing. They didn't have much of a selection to choose from, but the prices were excellent. So, I made a trip to Ikea and here is what I got:
Racka curtain rod x 1 @ $4.99 ea
Raffig finial x 1 pair @ $1.99 pair
Betydlig bracket x 3 @ $1.49 ea
Syrlig rings/hangers (set of 10) x 3 sets @ $2.99 set
Vivan curtains x 2 pair @ $9.99 pair
My grand total was $40.40 (+tax) which completely covers the set of french doors, the set of sidelites and a side window! Not bad at all!
I installed the brackets with no problems. It was pretty easy - the only thing is that they didn't come with screws, so you will need to make sure you have some on hand (I needed 2 screws per bracket).
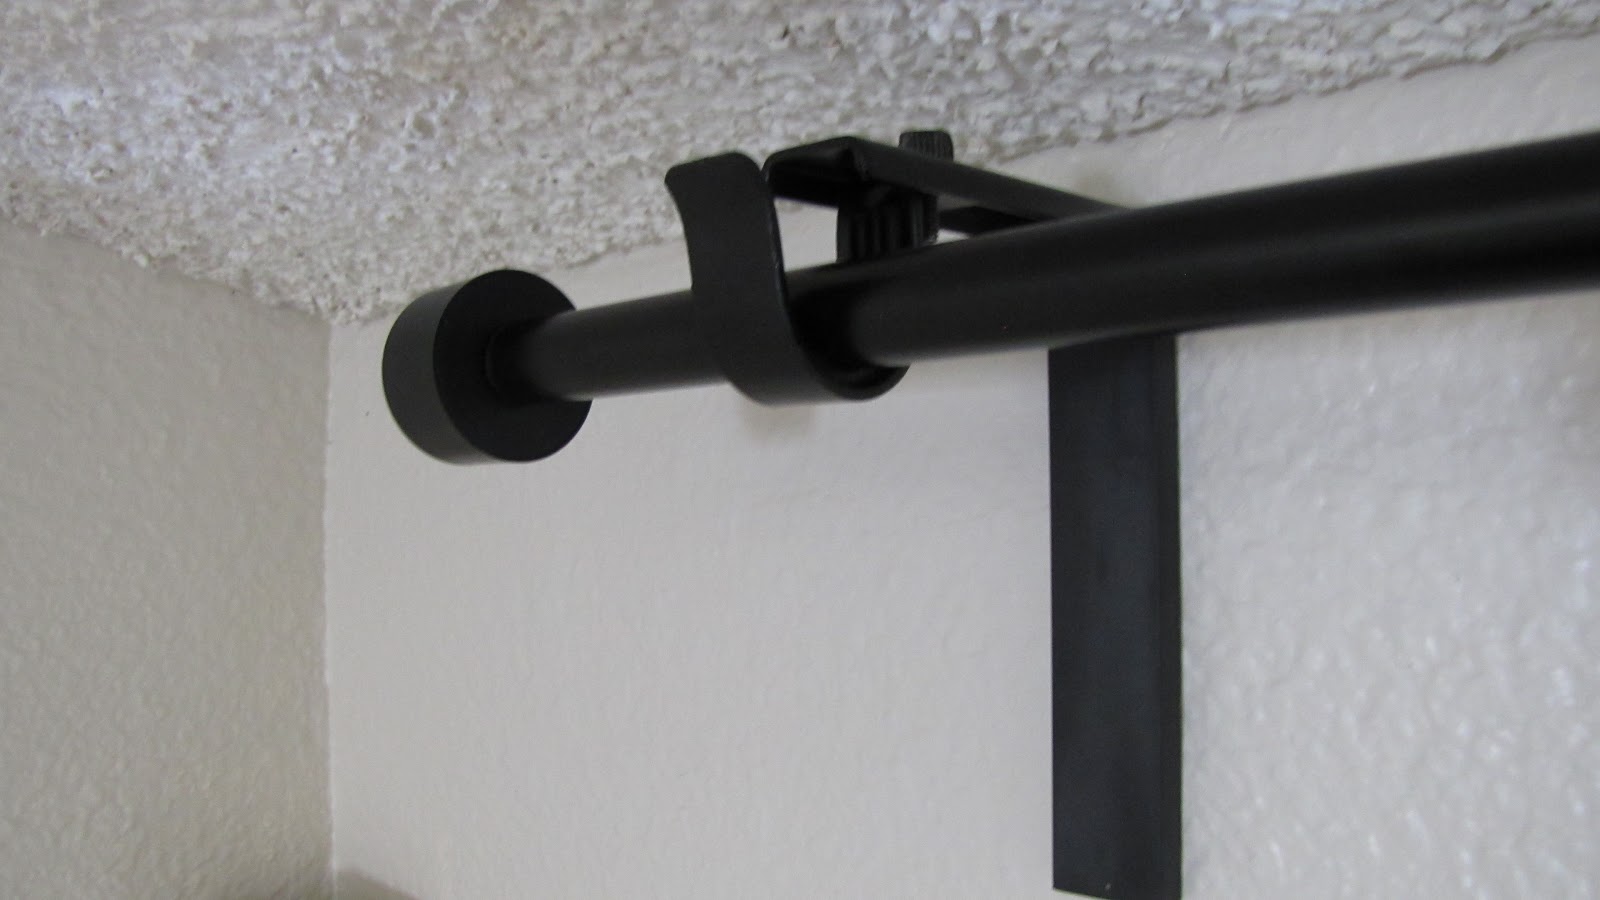
Please don't mind the gross popcorn ceiling. They will be gone one day - hopefully soon.
And then I put together all the rings with the clips on them.
I decided to install the curtain rod as close to the ceiling as possible to give height to the wall. I also took down the blinds in that side window - they were cheap, aluminum blinds and I always left them up anyways.
The curtains I bought were a bit see through (obviously), but they aren't completely mesh and still give me some privacy. You definitely can see any sources of light through them though (the tv, the lamp), but anything else is mostly safe from prying eyes.
I love how they turned out and think they are nice touch to the wall.
Originally Posted by Adventures in DIY
Linked up to:
Sally photobombed the picture. Can you spot her? :)
I'm truly happy with how they came out, but ever since I bought the house, I have been debating on the window treatment for the french doors. I was never in a big rush to get them done, though - I don't have any neighbors that live directly behind me, since there is a big sports park right behind my house. So, over the last few years, here have been my ideas for window treatments:
1) Bamboo blinds - I really love those. However, all the windows weren't very wide and they would have to be custom ordered which means big buck$$.
2) The old style curtain rods (I remember these from back when I was a kid). But, I wasn't sure exactly how to attach it to my metal/steel doors & sidelites and if I changed my mind later, I'd have good sized holes left in the doors.
3) Magnetic rods. For quite awhile, I thought that this was the best idea because they could be easily installed and removed without damaging the doors & sidelites. But, I wasn't sure how they would hold up to being opened and closed everyday. Also, since there would be one rod per door, the curtains would obstruct a lot of the light since I wouldn't be able to push them completely out of they way of the windows.
4) Install a single curtain rod over all the sidelites, french doors, and the side window. I figured this might be the best & cheapest way to get them all covered up. Also, when I pull back the curtains, it would still allow all of the light in. The only issue was still how much it would cost exactly because of the width of both french doors, both sidelites, and the side window.
Now, it was time to research...I had looked online and at different stores for curtains and could never find a pair that were wide enough (they needed to cover at least 121 1/2 inches). I would have to buy more than one pair and with everything being at least $20, this was going to add up. I even considered using painter's drop cloths and sheets, but with the width I needed, it was still going to not be cheap. I also looked into the hardware (curtain rods, finials, curtain rings) and everything was expensive and a lot of it wasn't my "style". I didn't need or want anything really fancy looking. So, after a lot of research, I hopped on the Ikea website to see what they had. I had perused their window treatments at the store in the past, but I was only just browsing. They didn't have much of a selection to choose from, but the prices were excellent. So, I made a trip to Ikea and here is what I got:
Racka curtain rod x 1 @ $4.99 ea
Raffig finial x 1 pair @ $1.99 pair
Betydlig bracket x 3 @ $1.49 ea
Syrlig rings/hangers (set of 10) x 3 sets @ $2.99 set
Vivan curtains x 2 pair @ $9.99 pair
My grand total was $40.40 (+tax) which completely covers the set of french doors, the set of sidelites and a side window! Not bad at all!
I installed the brackets with no problems. It was pretty easy - the only thing is that they didn't come with screws, so you will need to make sure you have some on hand (I needed 2 screws per bracket).
Please don't mind the gross popcorn ceiling. They will be gone one day - hopefully soon.
And then I put together all the rings with the clips on them.
I decided to install the curtain rod as close to the ceiling as possible to give height to the wall. I also took down the blinds in that side window - they were cheap, aluminum blinds and I always left them up anyways.
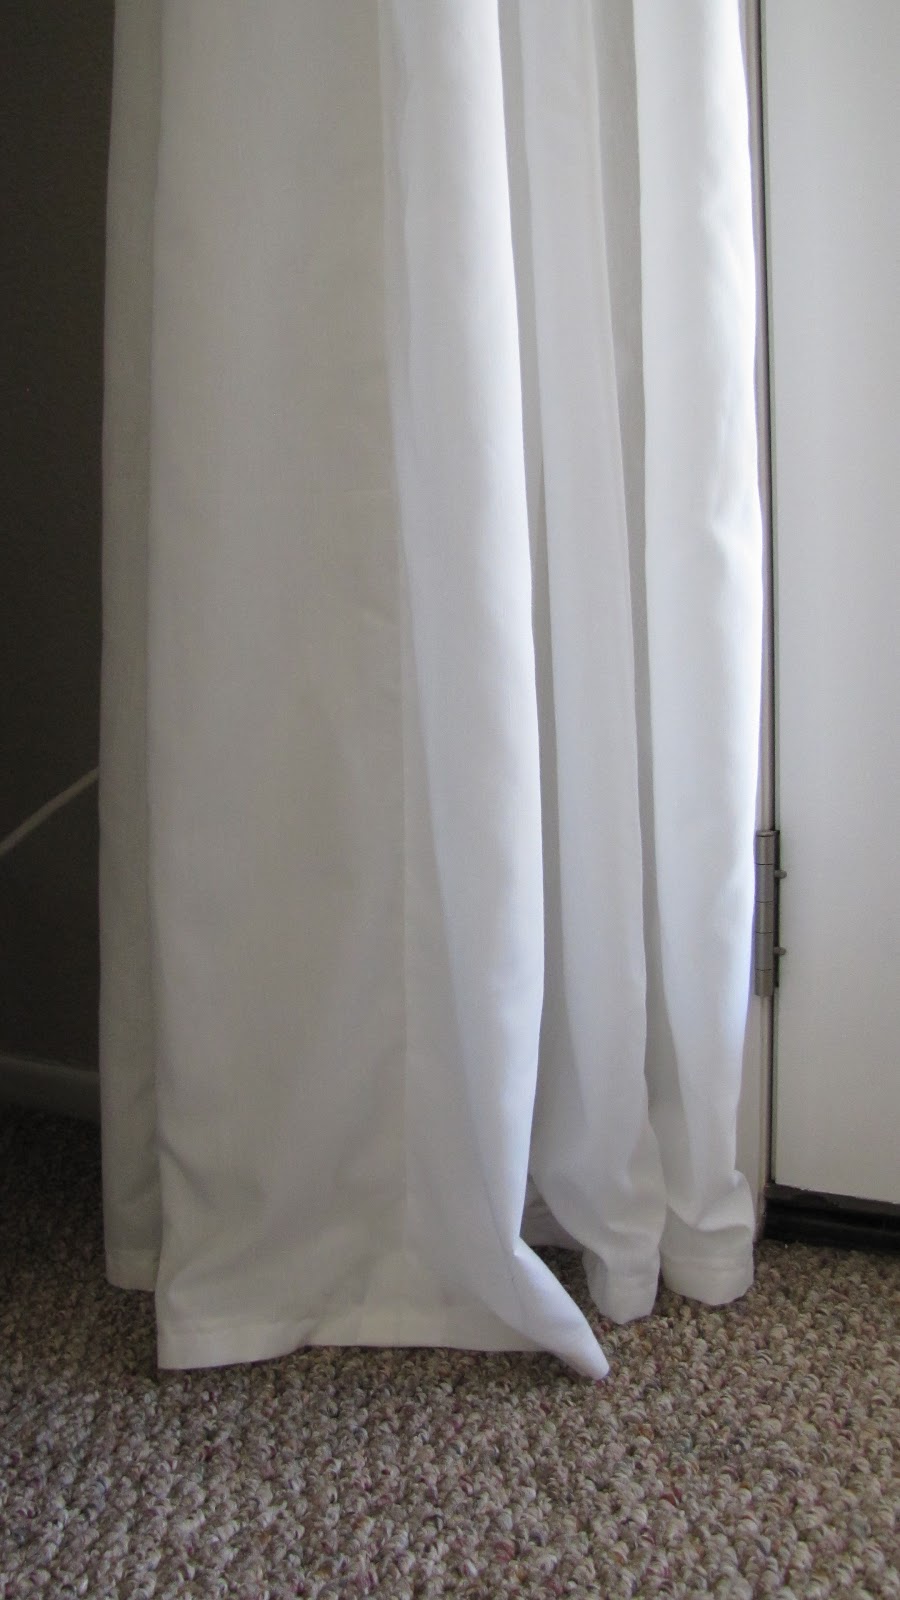
Since I needed 2 pairs of curtains to cover the width of all the doors and windows, I ended up sewing each pair together - so 2 pairs ended up becoming 1 extra-wide pair. They were also too long - I generally don't mind the "pooling" look, but since I would be opening & closing the curtains everyday AND since the curtains were covering a main entrance to the house, I decided to hem them so they just barely hit the floor.
The curtains I bought were a bit see through (obviously), but they aren't completely mesh and still give me some privacy. You definitely can see any sources of light through them though (the tv, the lamp), but anything else is mostly safe from prying eyes.
I love how they turned out and think they are nice touch to the wall.
Originally Posted by Adventures in DIY
Linked up to:
Friday, May 10, 2013
Garage Workbench
Hello all! Today I'm sharing my garage workbench. A few things to note: 1) I did not build this myself . 2) This was done a few years ago. And 3) Please excuse my poorly photoshopped pictures. I'm still experimenting with Photoshop - this was the best I could do, but the purpose was served! ;)
Here is how my garage started out. The previous owners had white cabinets installed on that wall and some great lighting all throughout the garage. They also had some electrical outlets installed in that empty wall space below the cabinets and also inside some of the cabinets. But, that empty space was prime real estate for a workbench!
I bought pegboard to fill the wall space below the cabinets. Not only does it give it a cleaner look, but it's also great for storage.
Here's the finished workbench and pegboard wall...
I'm still working on getting the garage organized - there's a lot to do, so I'm doing it all in small steps, but I've made some good progress.
Originally posted by Adventures in DIY
Here is how my garage started out. The previous owners had white cabinets installed on that wall and some great lighting all throughout the garage. They also had some electrical outlets installed in that empty wall space below the cabinets and also inside some of the cabinets. But, that empty space was prime real estate for a workbench!
I bought pegboard to fill the wall space below the cabinets. Not only does it give it a cleaner look, but it's also great for storage.
As you can see in the pictures above, there was a lot of wiring going on at the right side of the empty space. It's a Verizon box and although I don't use them, I didn't want it completely covered in case I needed access to it at some point in the future - this way I wouldn't have to take part of the peg board down. The picture below shows the cut-out for the box for easy access.
Here's the finished workbench and pegboard wall...
I'm still working on getting the garage organized - there's a lot to do, so I'm doing it all in small steps, but I've made some good progress.
Originally posted by Adventures in DIY
Subscribe to:
Posts (Atom)