Friday, March 16, 2012

I've Been Featured!

Hello all!

Just wanted to let you know I was featured on Hating Martha's Facebook page today for my most recent post:  Starfish & Driftwood Hanging..  Exciting stuff!  Here's the link if you want to check it out (while you're there, "like" her page.  She's awesome!).

https://www.facebook.com/permalink.php?story_fbid=312262185495944&id=233664670029623

Have a great weekend!

Wednesday, March 14, 2012

Starfish & Driftwood Hanging

Hello - somehow we are already heading into the middle of the week.  How did that happen already?  The weekends go by so fast anymore and now it's already Wednesday!  I've been bad about posting lately - been taking care of some "non-bloggy" stuff lately.

I have finally completed a project that I've been wanting to do for months.  I didn't really know how to execute it and then other projects got pushed to the top of the list and then I kind of forgot about it.  See how I am?  Anyhoo, I decided to just get it done and boy, was it a super simple project.

I originally saw this on The Lettered Cottage's blog post and immediately knew that I wanted to make my own version (love those planked walls by the way).  
Via The Lettered Cottage

Here is a quick tutorial in case you'd like to make your own.
Supplies needed:
*  Jute or other type of rope (I used jute)
*  Starfish (purchased on-line)
*  Driftwood (purchased at JoAnn)
*  Hot glue & hot glue gun
*  Drill & drill bit

1)  First, determine how long you want your piece to be.  Cut your piece of jute considering you'll need an extra length of it to account for the knots.

2)  Based on the jute size, determine which size drill bit to use.  Then, drill holes in the driftwood pieces to thread the jute through.

3)  Make a loop at one end of the jute and tie a knot.  You will need this in order to hang the piece on the wall.

4)  I hot glued the smallest starfish onto the jute.

5)  Once I did that, I eyeballed where I wanted to put the driftwood underneath the starfish and tied a knot.  Then, thread the jute through the hole in the driftwood and push the driftwood flush against the knot.  Then, tie another knot flush underneath the driftwood so it stays in place.
This second picture shows how both knots keep the driftwood secure.

6)  Continue these steps by alternating starfish and driftwood down the length of the jute.

7)  At the end, I just tied a simple knot in the jute.  I hung it on a couple of different walls to see how it would look.


I love how it turned out and can't believe it took me so long to get it done.  It only took me about 20 minutes to complete.  Thanks for looking!

Linked up to:
Hating Martha's Stinky Linky Party v.5

How To Nest For Less' Just A Party With My Peeps

Delightful Order's Delightfully Inspiring Thursday Party
The 36th Avenue's Show Me Extraordinary Link Party

Live.Laugh.Rowe's Live Laugh Linky Thursday#1

Tater Tots & Jello Weekend Wrap Up Party

Too Much Time On My Hand's Get School Saturday Link Party

One Artsy Mama's Shine On Fridays Link Party

Brassy Apple's Make It Monday Link Party

Ask Anna's Weekend Warrior link party


Tuesday, March 6, 2012

Serving Tray Makeover

Hello all!  I hope everyone is enjoying their week so far.  We've had some crazy weather lately - last night was warm and today was cold and rainy.  So weird!

Anyhow, I finished a project last night and I'm pretty happy with how it came out.

Remember when I showed you this picture and told you I had plans?

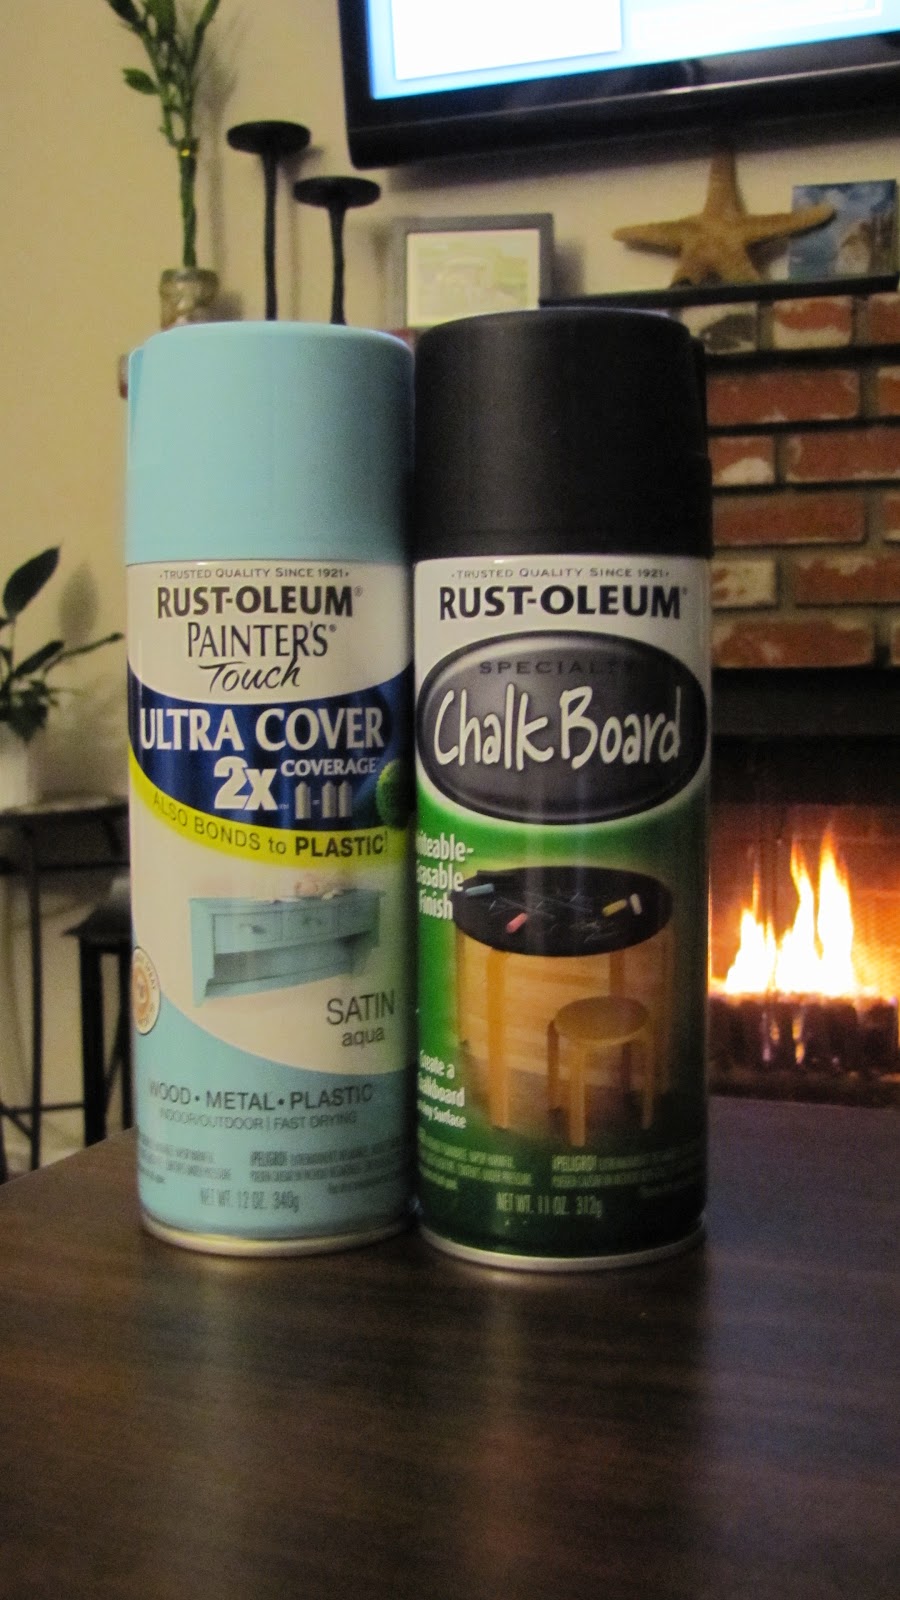
As soon as I saw the aqua color at Home Depot, I snatched it up.  I didn't have any specific ideas on how to use it, but knew the ideas would come.   If you build it, they will come.  So, I started looking around the house to see what I could use it on.  When I saw this, the light bulb went on.

I bought the tray at Target in the Fall of 2009 (I only know this because it says it on the bottom of the tray).  At the time, I had a lot of black and red in my decor.  The tray worked perfectly since I use my ottoman as a coffee table.  As much as I like red, it's not really my style anymore as far as decor goes.  So, I decided to give it a whirl and paint it the pretty aqua color.

I started out by spraying primer on it.  I think I did 3 coats.
1st coat
2nd coat
Then I sprayed the aqua on.  I gave it a about 3 coats also. 
I'm so pleased with the new color.  I've been really into aqua for the last couple of years, so I love that more products are coming out in this color.  Target seems to have a lot more decor and kitchen items in aqua also.  Whenever I go there, I stand there mesmerized.  Oooohhhh, aaaaaahhhh.

Now, as much as I love spray paint, I haven't prefected the "art" of it yet.  There are a few crackly spots and a couple of drip marks, but it's ok.  No one will notice.  Honest!  (That's what I tell myself anyways).  I need to get the technique down better, but so far I haven't ruined a project yet.  Also,  I have one of those triggers that snap on the top of the can and it makes it waaaaay easier to spray.  So, here's a quick before & after.

BEFORE
AFTER

Ta da!  I'm so pleased with how it came out.  Aqua makes me happy.  :)

Linked up to Thrifty Decor Chick's March Before & After Party

Monday, March 5, 2012

Emergency Kit

We had an earthquake about 1 1/2 weeks ago, which is not so unusual since I live near a fault line in Southern California.  But, it reminded me that I don't have an emergency kit and really need to put one together. 
 
I made a list of supplies that would need to get me through a few days and here's what I came up with:

* Canned food (I picked ravioli because a can opener is not need and it's tolerable to eat right out of the can - in case there is no way to heat it up)
* Bottled water
* Utensils/plates/bowls/cups
* Cat food & water
* Glow sticks
* Flashlight (wind-up)
* Radio (wind-up)
* Bandaids
* Wrap bandages
* Gauze
* Neosporin/antibiotic cream
* Ibuprofen
* Rubbing alcohol
* Cotton balls
* Shoes/socks
* Sweater
* Blanket

Of course, there are countless other things you can add to your own, just make sure you have enough food, water, and some sort of medical supplies for at least a few days.

I bought a lot of my supplies at the Dollar Tree.  Since I'm the only one in the household, it would be hard for me to be able to rotate the supplies out (in consideration of expiration dates) and not waste anything.  I figure that the Dollar Tree items will work well enough, but if they don't get used before the expiration date, then I'll have only spent a little bit of money.  So, I gathered up all my supplies and put them inside an extra plastic storage bin that I had.

Everything fits perfectly and there is still plenty of room to add more items.  I also made a label since the bin isn't see-through and put it out in the garage where it will be easily accessible.

It's not much, but it should get me and the kitty cat through a few days if need be.  Do you have an emergency kit at the ready?


Pin It

Wednesday, February 29, 2012

Tragedy of a Dry Erase Calendar

Happy Leap Day!
It seems as though many places were having some good deals and promotions in honor of Leap Day.  I took advantage of Shutterfly's promotion - 101 free prints.  Also, I took advantage of a Groupon for Shutterfly - $10 for an 8x8 photobook, which saved me $20!

So, onto my post for the day.  Remember the dry erase board I made here?

Tonight, while making mac-n-cheese from scratch (my sister, Lindsay's, recipe - so yummy!), I had a fight with a bag of pasta shells.  And the pasta shells won.  My dry erase calendar and elbow lost.


Poor, poor thing - it didn't even last 2 weeks.  I'm going to see if I can get replacement glass for cheap at Home Depot.  If not, I'll just wait until I can make the 2 hour round-trip back to Ikea to replace it.  Another trip to Ikea?  Oh darn.  How will I ever survive it?  Hmmm...got my list already going.  :)


Pin It

Monday, February 27, 2012

Adventures in Gardening Part 3

I have posted before that I don't have much of a green thumb.  So, I'm always excited when I see my plants and flowers growing like crazy.  We've been having a really mild winter (except for today!).  The weather has been really nice and I think my plants are being fooled into blooming a bit early.  I did a little bit of yard work and took some pictures yesterday.

I have a pretty Salvia bush - the purple flowers are amazing.  It typically blooms in the fall.

You can see how full the bush is.  Well, it's been all dead and dried up for about a month.  I finally took the time yesterday to prune it back and this is what it looks like now. 
It looks waaaaay better than before I trimmed all the dead stuff off.  It was a hot mess, I tell ya!  I was just surprised out how much has grown in already!  I even saw a few purple flowers growing in already.

Last year, I planted hydrangeas.  See those pretty pink ones below?  I had dug up an ugly bottle brush tree and replaced it with the hydrangeas.  
I was very lazy and took forever to prune it after the flowers died.   Plus, I don't think I pruned it correctly.  I thought I killed it.  And then a few months ago, it looked like this.
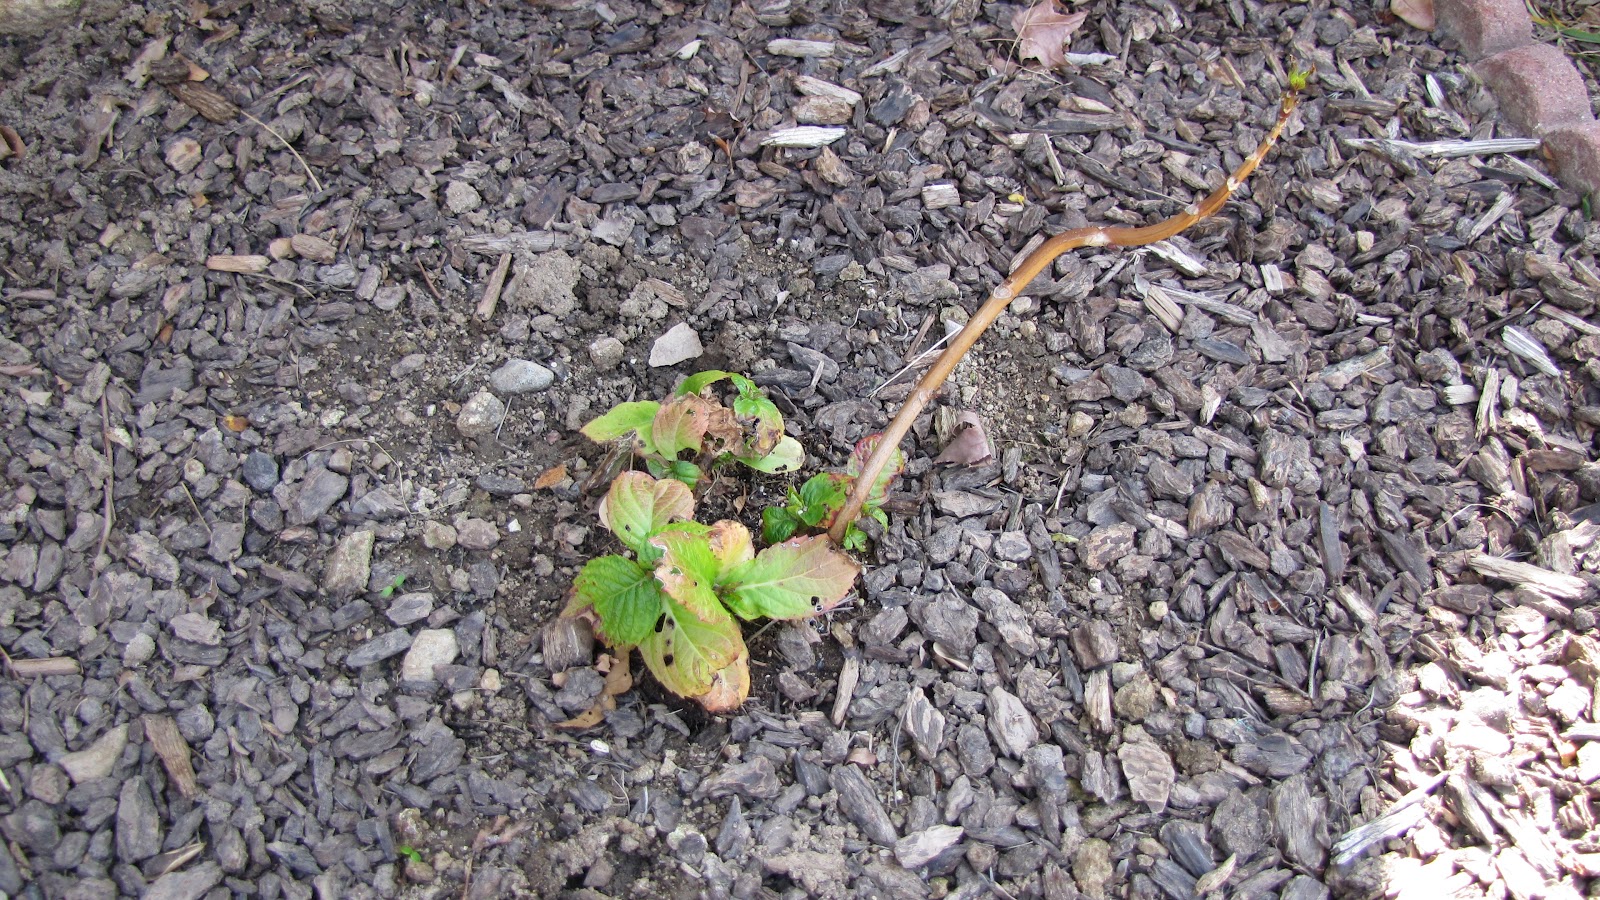
Not too bad!  See those fresh green leaves that came in?  (just pretend you don't see those brown ones, umkay?)  But, do you see what I mean when I say I don't think I pruned them correctly?  I think I cut them too low.  Hmmmm...
This is what it looks like as of yesterday.
Poor thing.  It's really trying!  I don't think its going to make it though.  We'll see.

Last year, I also discovered I had green onions growing.  And in a very inconvenient spot - right next the concrete walkway.  Makes them very hard to get them out of the ground.  Last year I pulled them all and poured weed killer because I didn't want them growing in that area.  Well, afterwards, I found them growing in a different spot which was also next to the concrete walkway.  Yesterday, I found them making a reappearance.  I'm going to let them grow a bit more and pull them.  Onions anyone?

Now, these...I just love.  Calla lilies.
I had this house for almost two years before they started growing in!  I didn't even know they were there.  The above picture is what they looked like early last year.
And here is what they look like as of yesterday.

It's like a jungle!  They have grown like crazy.  I need to get under there and prune back the dead leaves, but when I looked yesterday, there wasn't much.  I was so happy to see some new flowers growing in.  Love these guys! (in the top picture, you can barely even see the hydrangeas on the upper right.  It's just a tiny blip in the picture. Oh, poor thing!).

As you can see in the above three pictures, it was sunny out yesterday while I was doing my yard work.  Because of the wind, there weren't any clouds - just blue skies.  But here is what we got tonight.

That's my front & back yards.  Mind you, I live in Southern California.  I get snow maybe a few times a year because my town is at a bit of a higher elevation.  But, it was pretty warm this past weekend.  We've been having crazy weather lately - one minute it's cold and the next it's hot.  Rain was in the forecast for today and this is what we got.  So cool!

I hope everyone had a great weekend and had fun watching the Oscars.  Have a good week!


Pin It